This is a simple tutorial on how to connect Jamf Pro to an Active Directory Domain Controller to authenticate users via Secure LDAP.
This is written using Jamf documentation here, https://docs.jamf.com/technical-articles/Configuring_Jamf_Pro_to_Use_LDAP_Over_SSL_When_Authenticating_with_Active_Directory.html , but with better explanations and not outsourcing most of the steps to Microsoft documentation.
Table Of Contents
- Jamf Pro LDAP Mappings
- Prerequisites
- Creating the LDAP Service Account
- Creating a certificate template to use for a Certificate Request.
- Generating the LDAP client certificate
- Export the new LDAPS certificate
- Install Jamf Pro CA Certificate to the Domain Controller Trusted Root Certificate Store
- Connect Jamf Pro to LDAPS
- Testing LDAP lookups
Jamf Pro LDAP Mappings
These LDAP mappings should work for most cases. You may have to fine tune for your environment. Replace the Search Base with your own domain name.
User Mappings
| Jamf Pro Attribute | User Object User Interface Mapping |
|---|---|
| Object Class Limitation | All ObjectClass Values |
| Object Class(Es) | organizationalPerson, user |
| Search Base | DC=your,DC=domain,DC=com |
| Search Scope | All Subtrees |
| User ID | uSNCreated |
| Username* | sAMAccountname OR userPrincipalName |
| Real Name | displayName |
| Email Address | userPrincipalName |
| Append To Email Results** | |
| Department | department |
| Building | physicalDeliveryOfficeName |
| Room | streetAddress |
| Phone | telephoneNumber |
| Position | title |
| User UUID | objectGUID |
**Optional
User Group Mappings
| Jamf Pro Attribute | Group Object User Interface Mapping |
|---|---|
| Object Class Limitation | All ObjectClass Values |
| Object Class(Es) | group, top |
| Search Base | DC=your,DC=domain,DC=com |
| Search Scope | All Subtrees |
| Group ID | uSNCreated |
| Group Name | name |
| Group UUID | objectGUID |
User Group Membership Mappings
| Jamf Pro Attribute | User Object User Interface Mapping |
|---|---|
| Membership Location | User Object |
| Group Membership Mapping | memberOf |
| Append To Username When Searching* | |
| Use distinguished name of user groups when searching | Selected |
| Use recursive group searches | Selected |
Prerequisites
- An Active Directory Domain Controller.
- An Active Directory Certificate Authority.
- A Jamf Pro server that can communicate with the domain controller OR an externally facing JIM instance.
Creating the LDAP Service Account
- Connect to your Domain Controller.
- Search Active Directory Users in the Windows Search box and open the program.
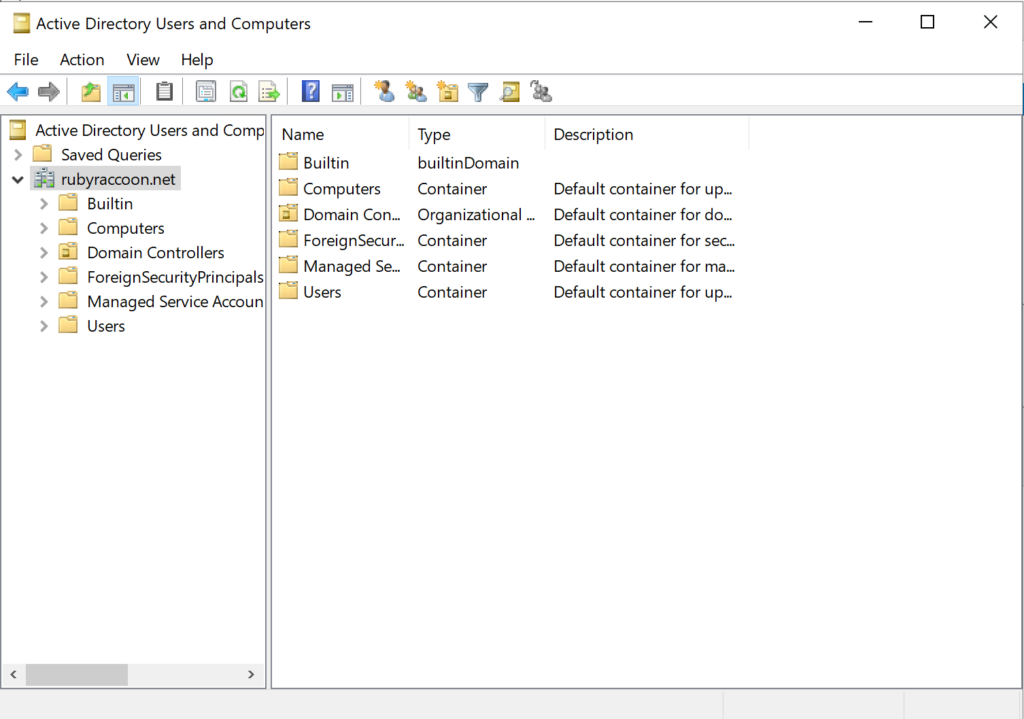
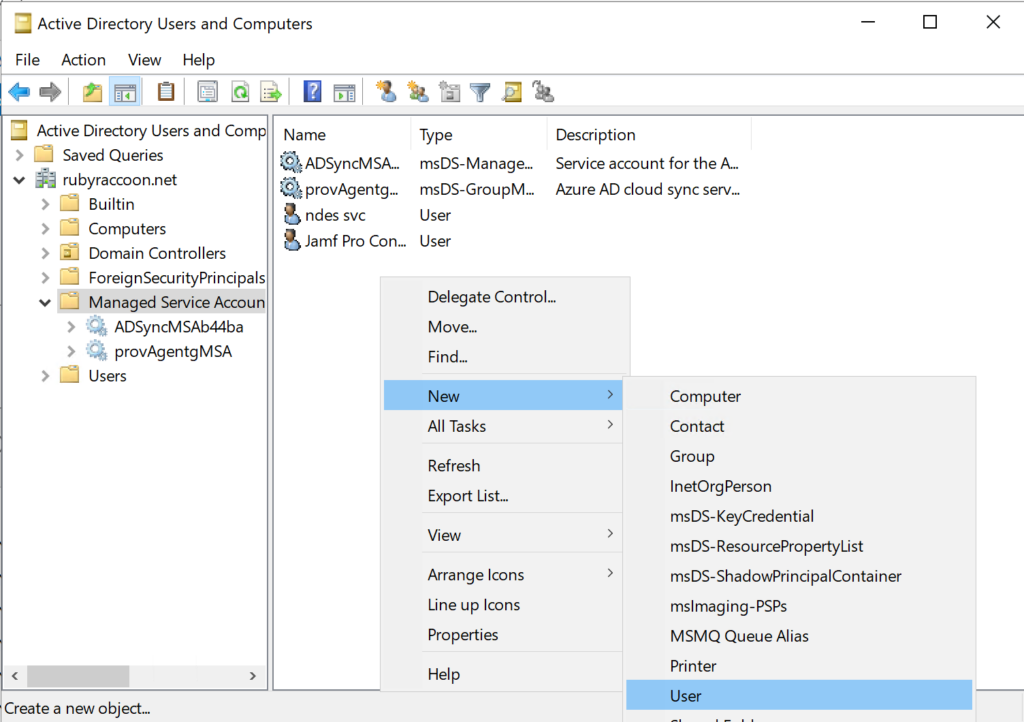
- Double click on Managed Service Accounts.
- Right click on an empty space and select New → User.
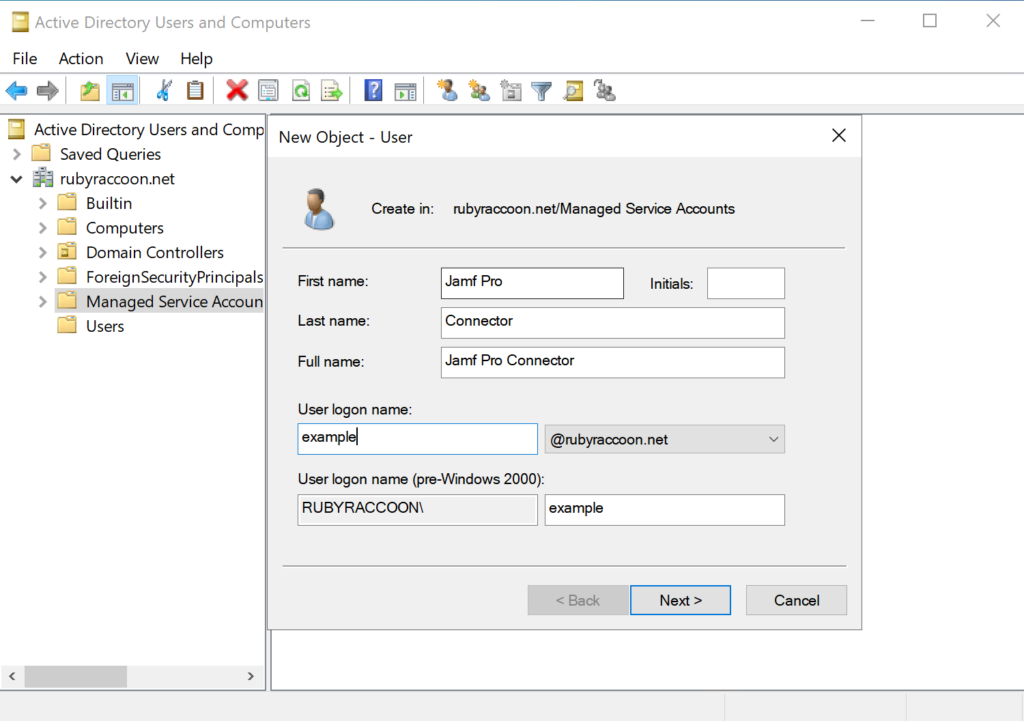
- Enter in an appropriate first name, last name, and username, then click Next.
- Enter an appropriate password, then deselect User must change password at next login and select Password never expires, then click Next.
- Note: This is insecure, but it works for testing.
- Click Finish.
Creating a certificate template to use for a Certificate Request.
- Connect to your Certificate Authority or Domain Controller (depending on whether you have those separate or not).
- Search certtmpl.msc in the Windows search box and run the program.
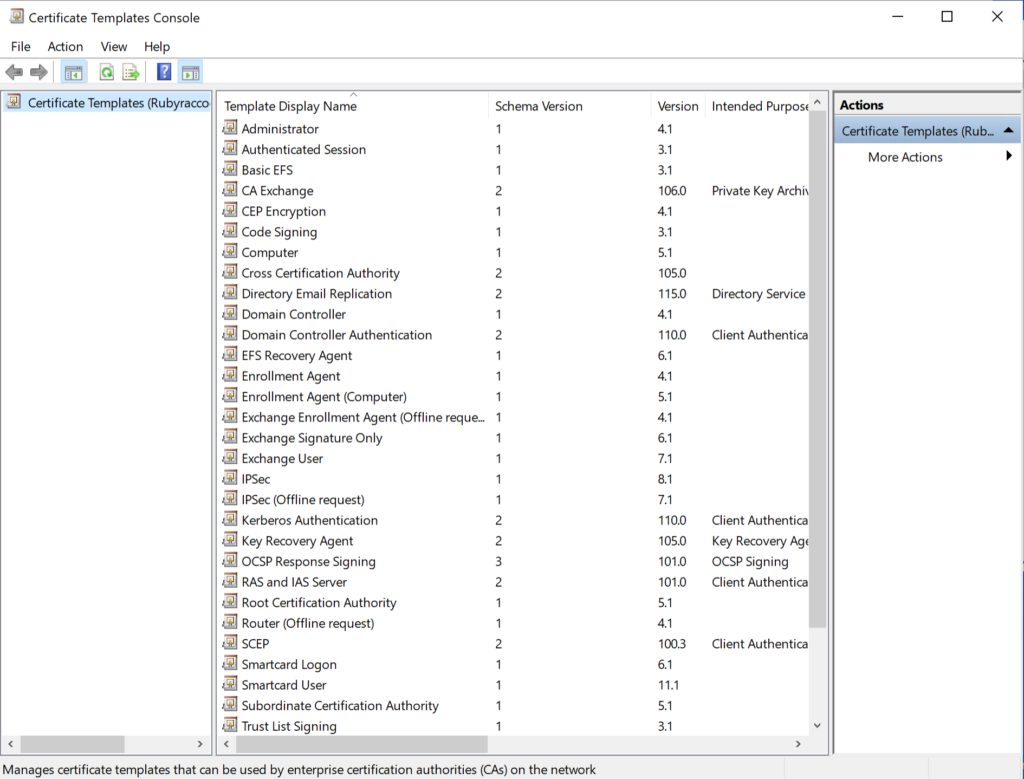
- Right-click on Kerberos Authentication and then select Duplicate Template.

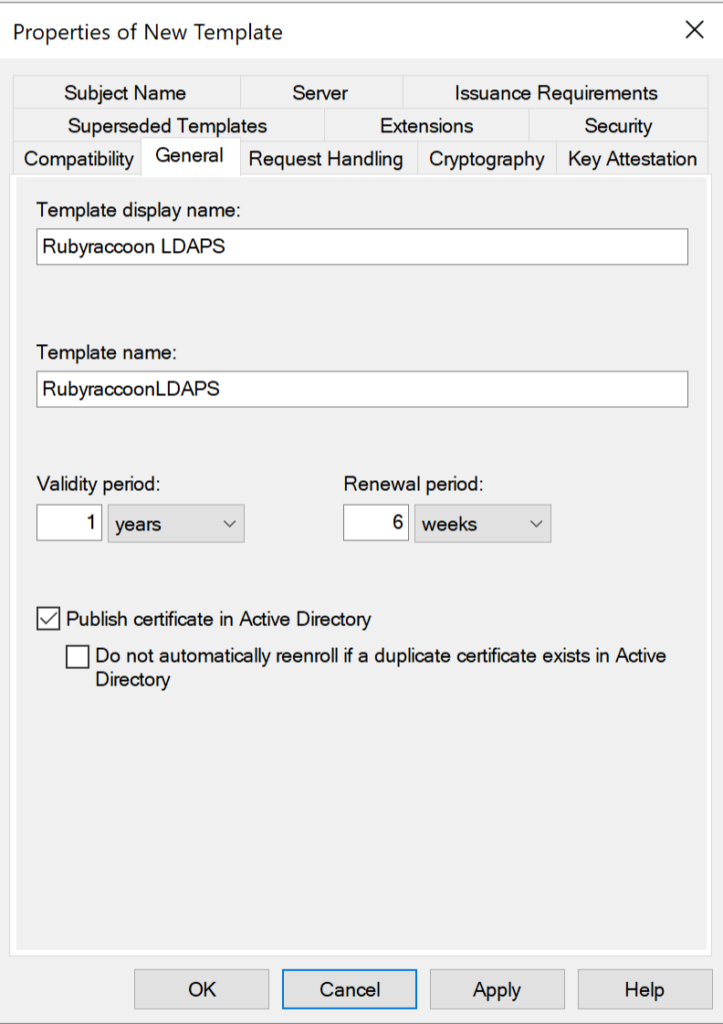
- Go to the General tab and Enable publish certificate in Active Directory option. Make sure to name the template appropriately.
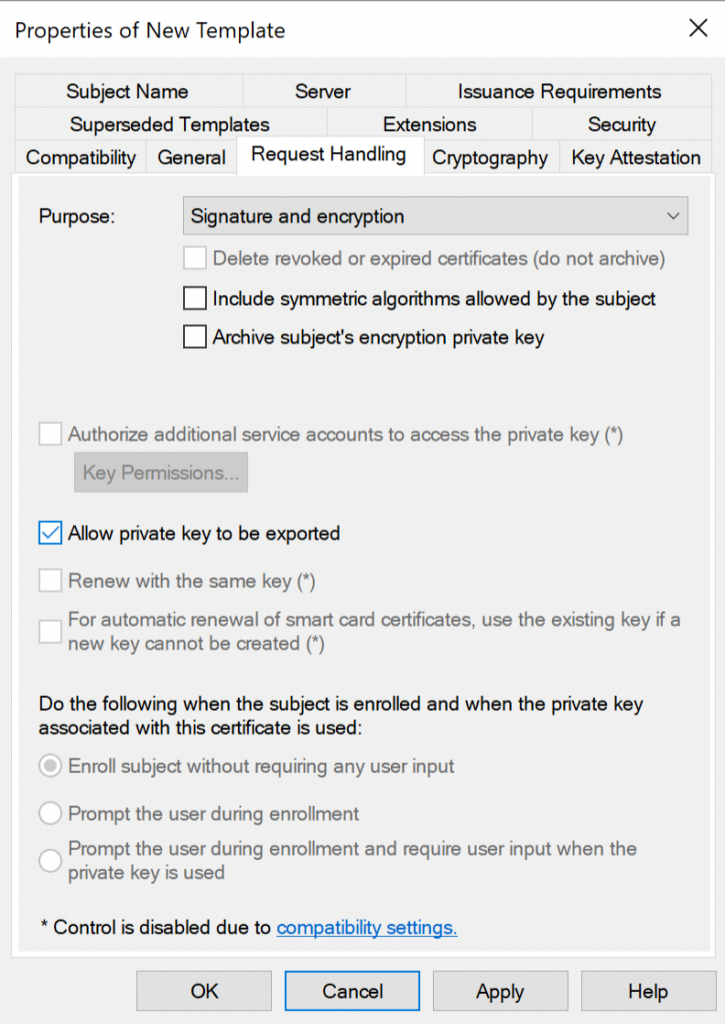
- Go to the Request Handling Tab and Enable Allow private key to be exported option.
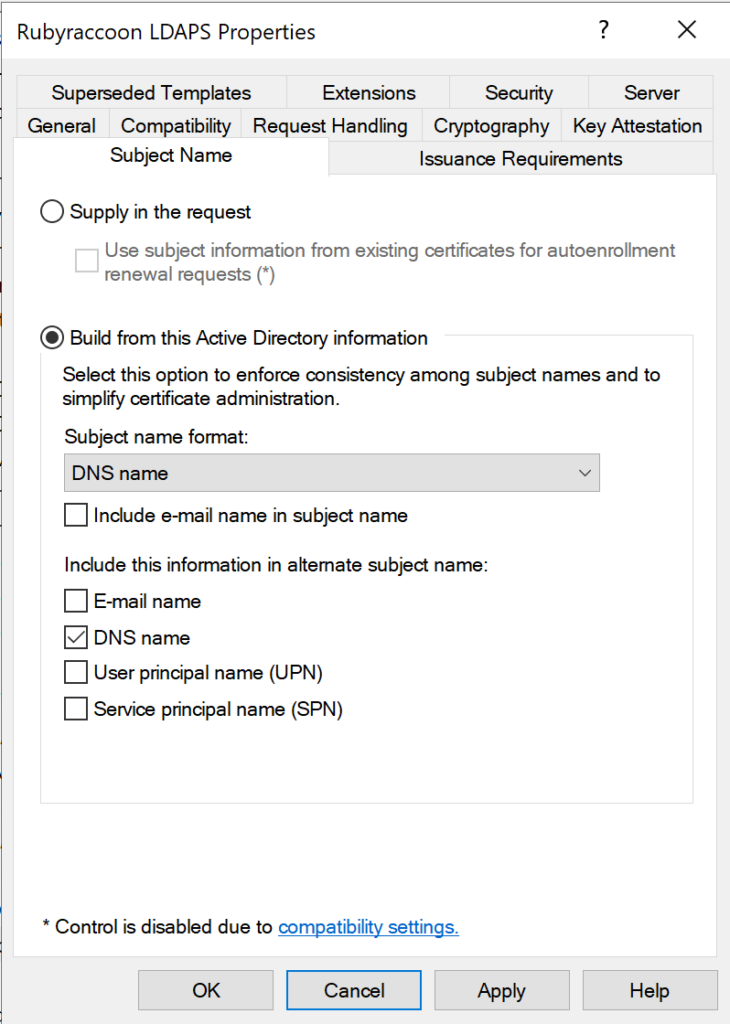
- Go to the Subject Name tab and ensure that the subject name format uses the DNS Name option.
- Click on Apply, then OK.
- Search Certification Authority in the Windows search box and open the program.
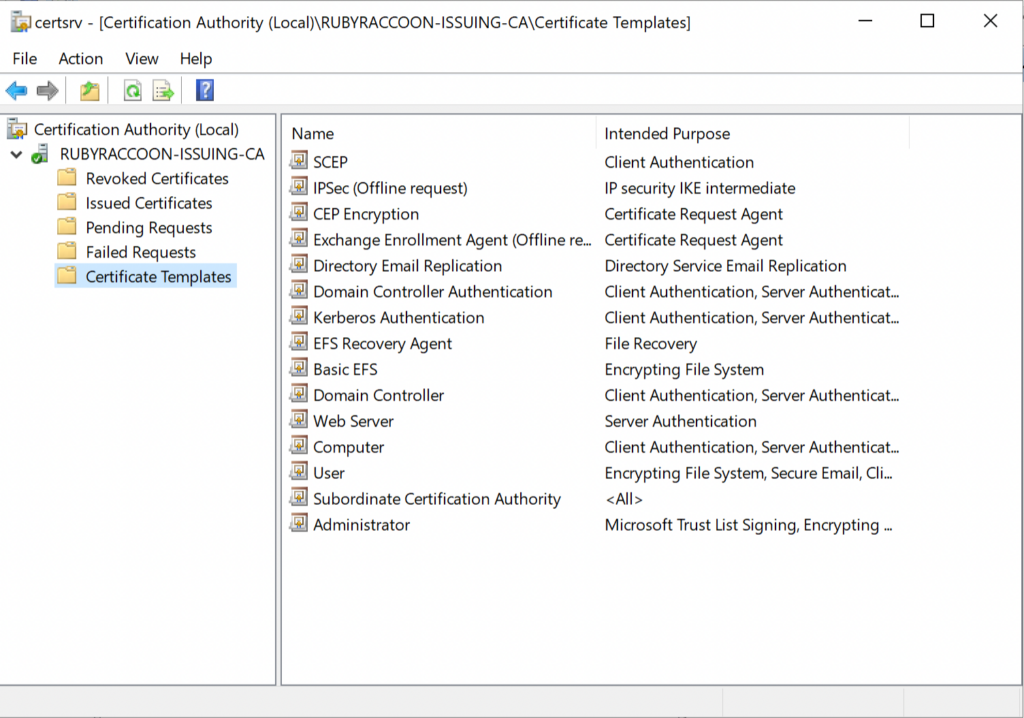
- Right click on Certificate Templates and select New → Certificate Template to Issue.
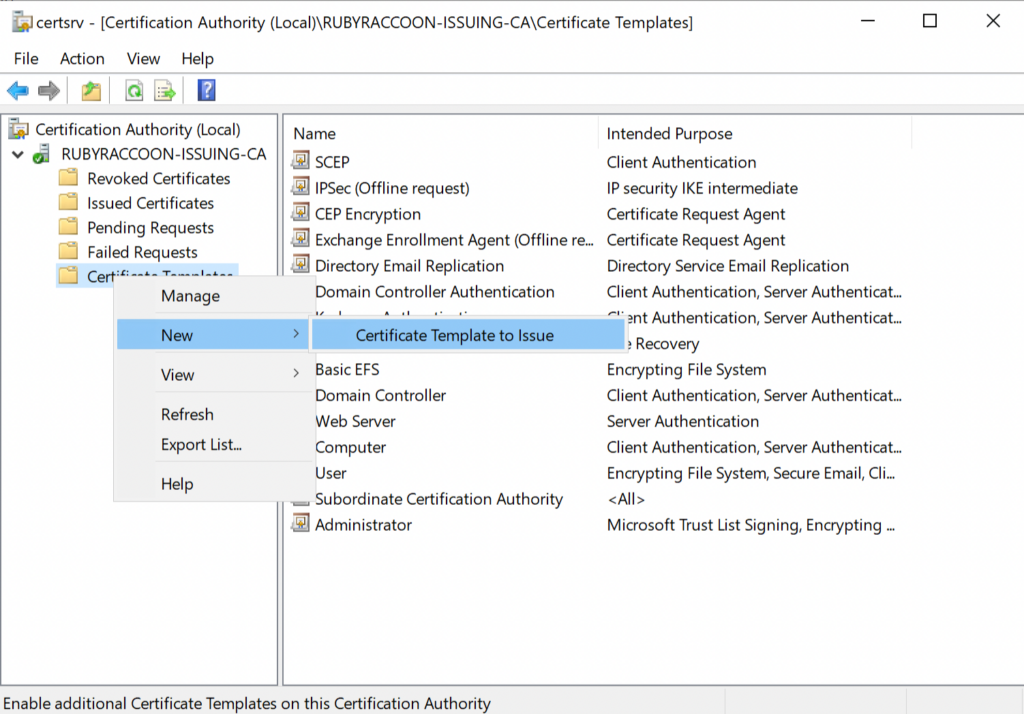
- Select your recently created Certificate Template and click OK.
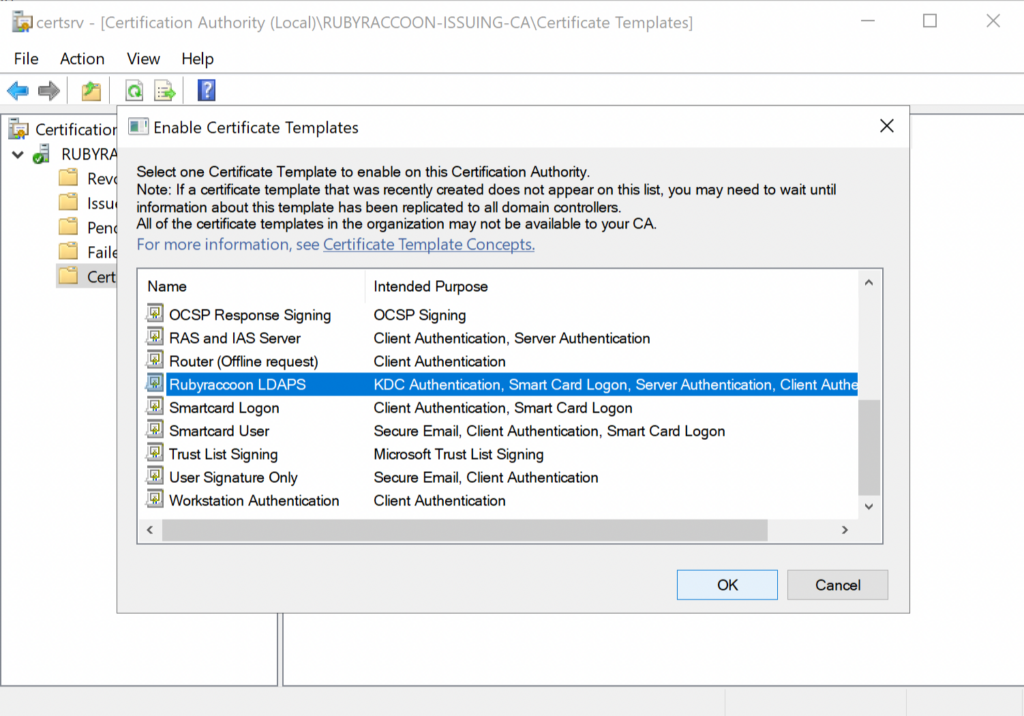
- If you are using an issuing CA, make sure to enable this on your intermediate and/or root CA as well.
Generating the LDAP client certificate
- Connect to your Domain Controller.
- Search mmc.msc (or mmc) in the Windows search box and run the program.
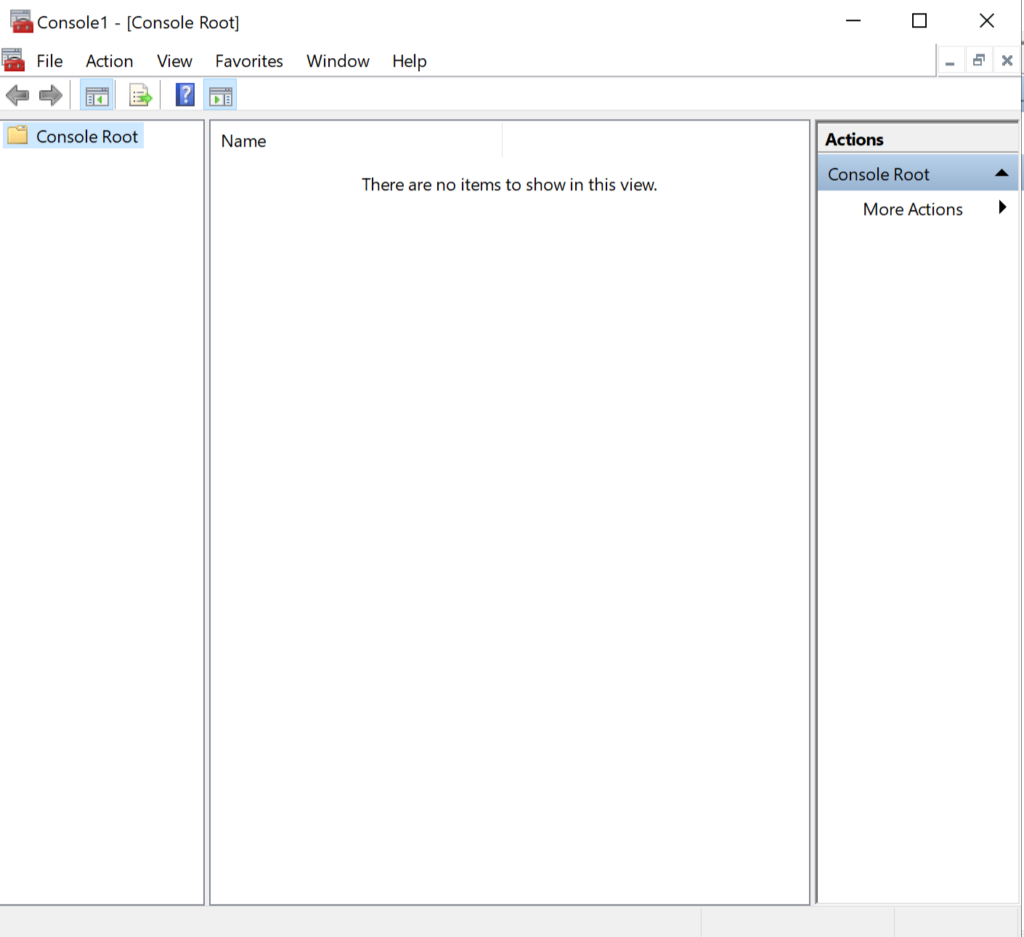
- Click on File → Add/Remove snap-in.
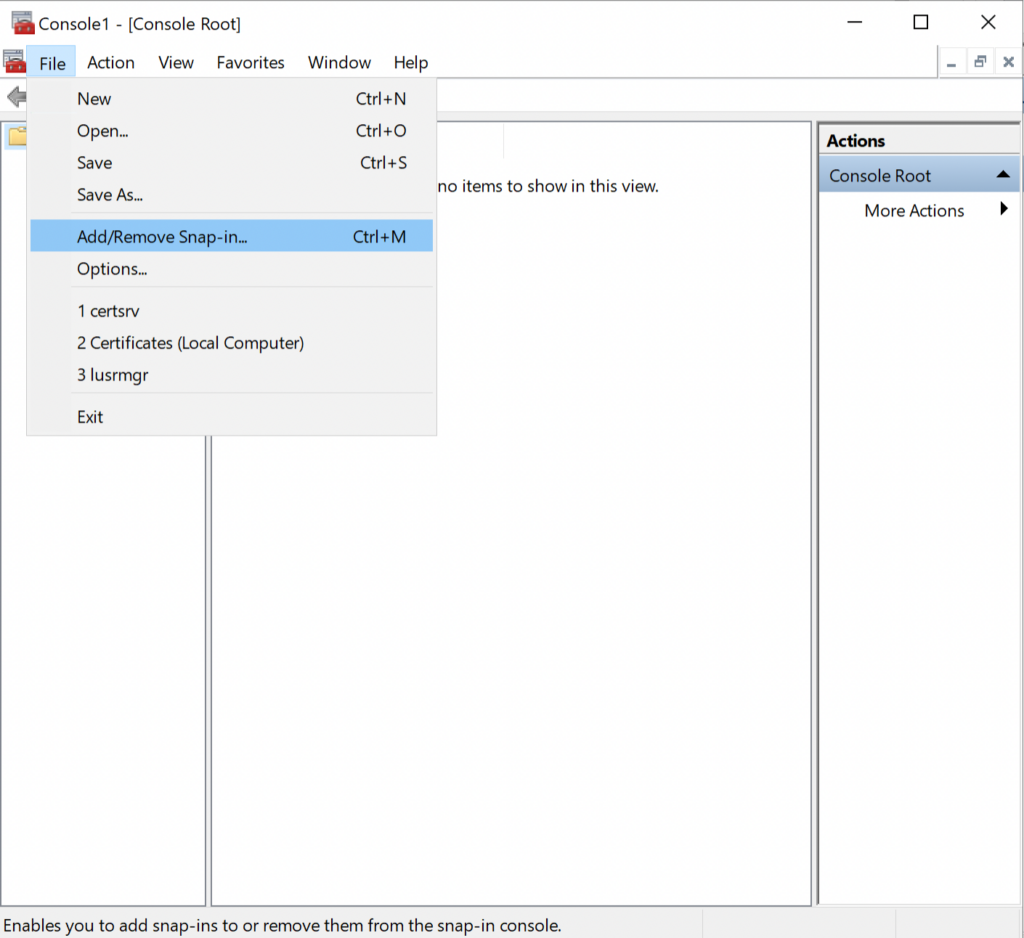
- Select Certificates, and click the Add button.

- Choose Computer Account on the pop-up and then click Next.
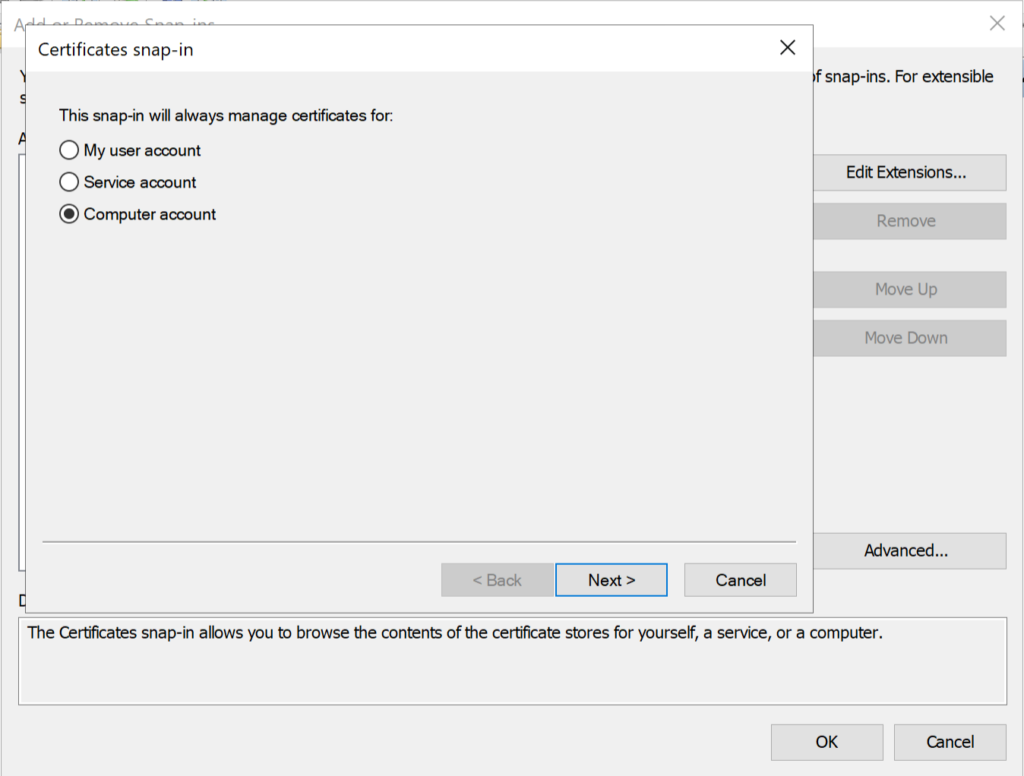
- Ensure Local Computer is selected, then click Finish, then OK.
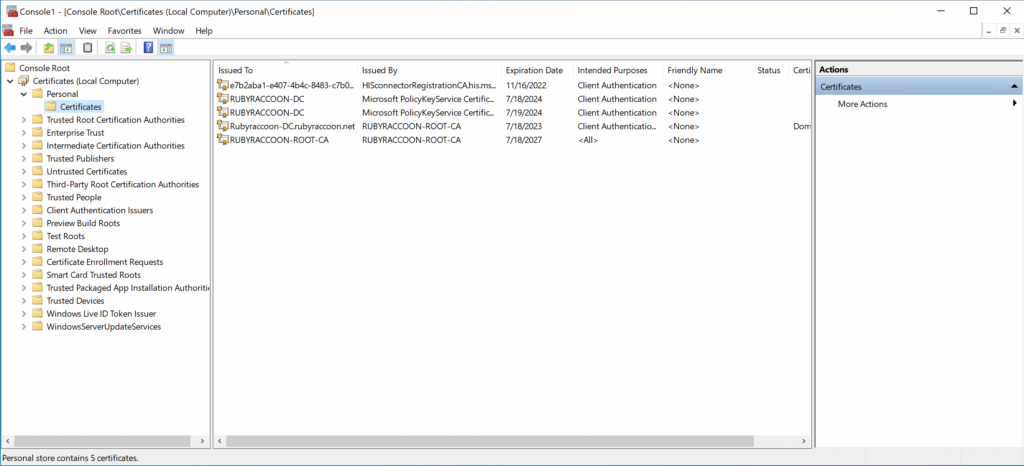
- Double click Certificates (local computer) → Personal → Certificates.
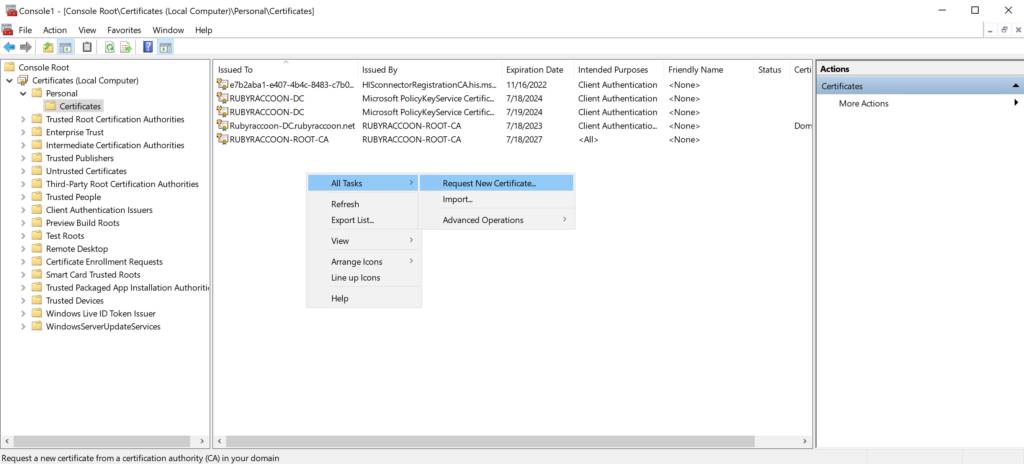
- Right click on an empty space, then select All Tasks → Request New Certificate.
- Click Next at the Before you Begin screen.
- Click Next at the Select Certificate Enrollment Policy screen.
- Select your Certificate Template at the Request Certificates screen.
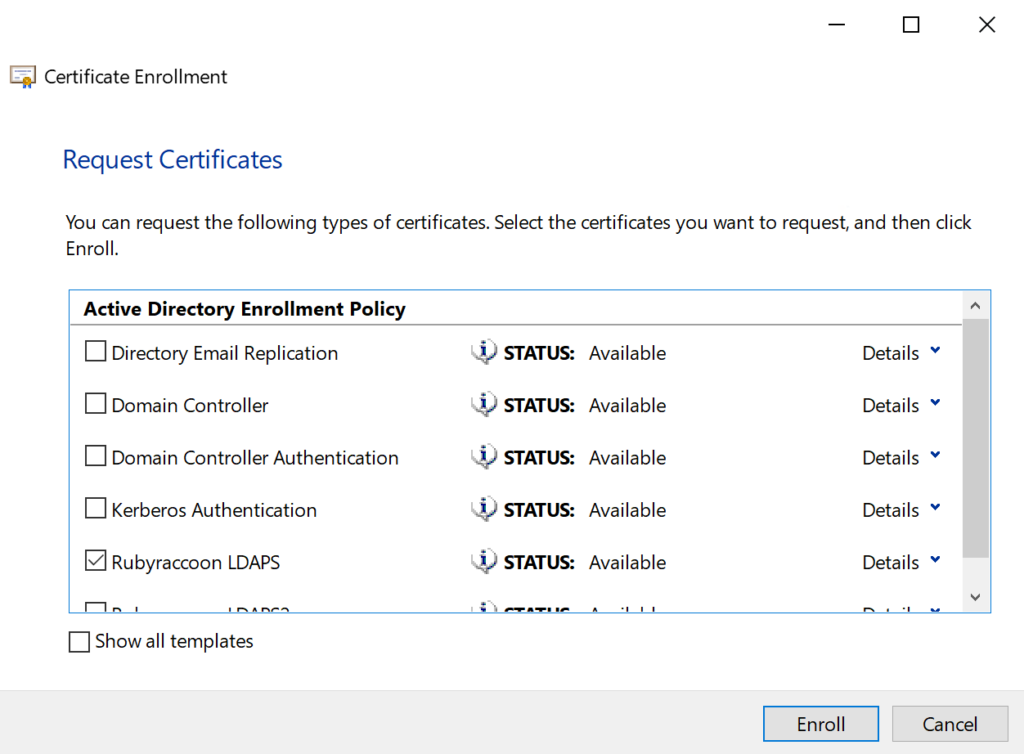
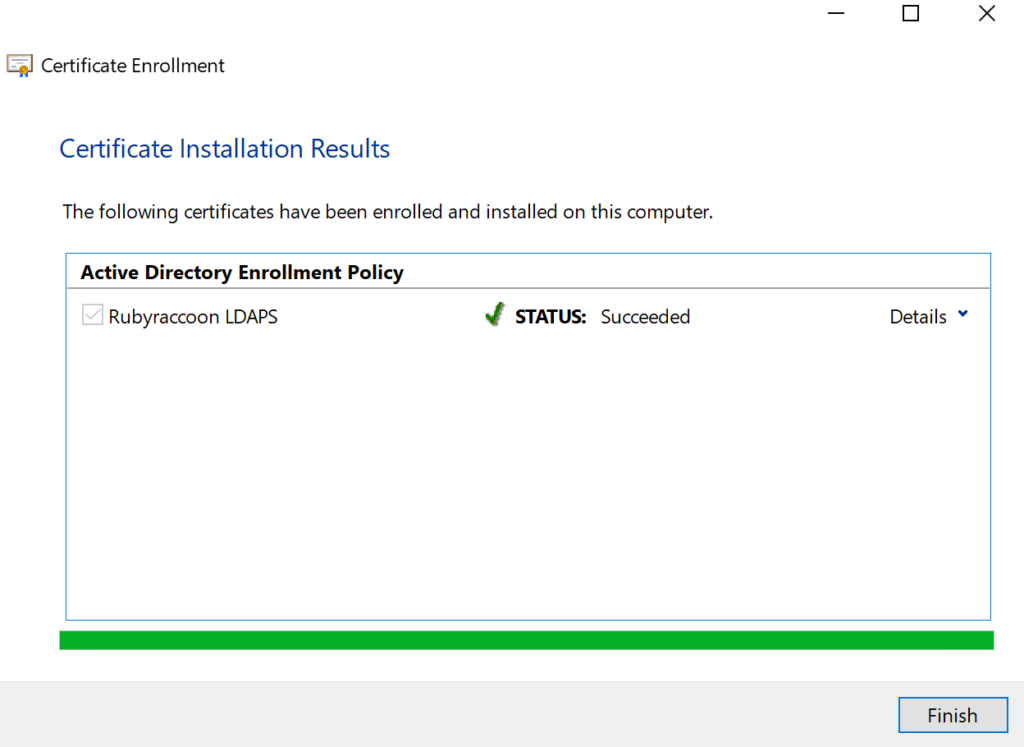
- Click Finish at the Certificate Installation Results.
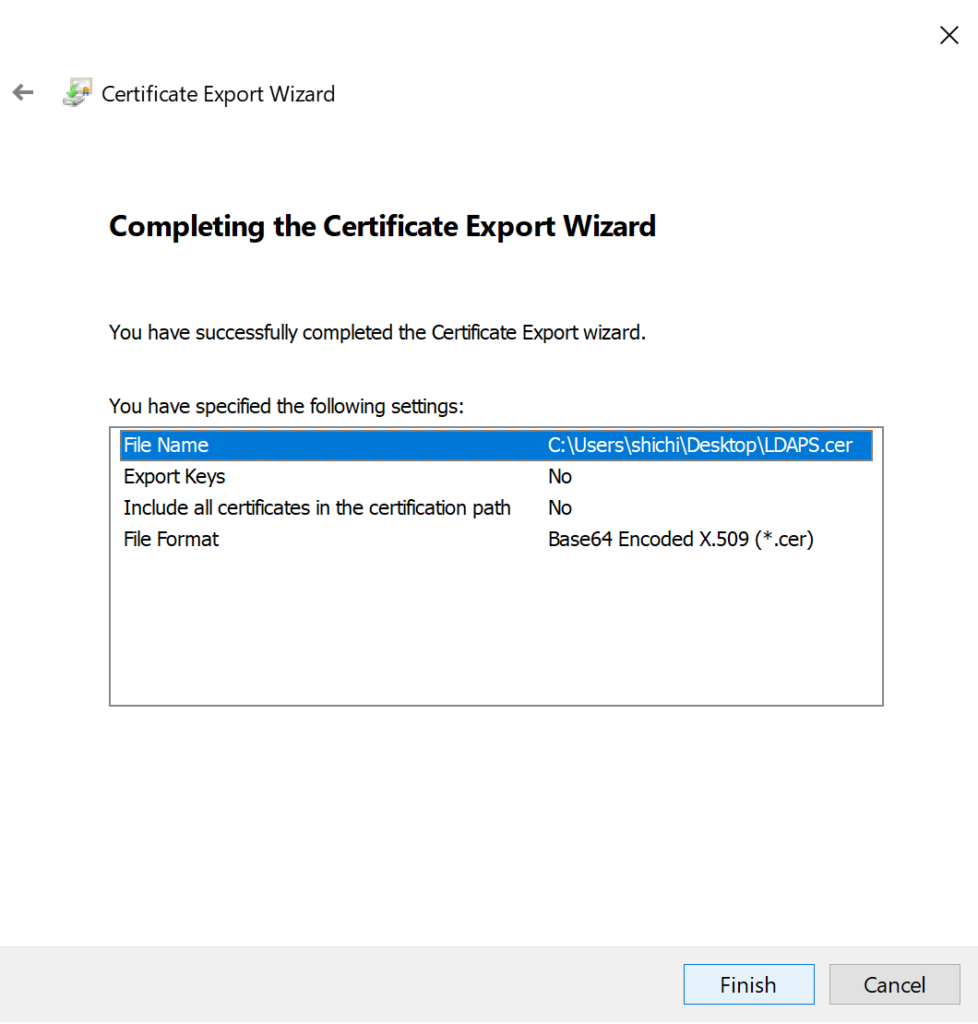
Export the new LDAPS certificate
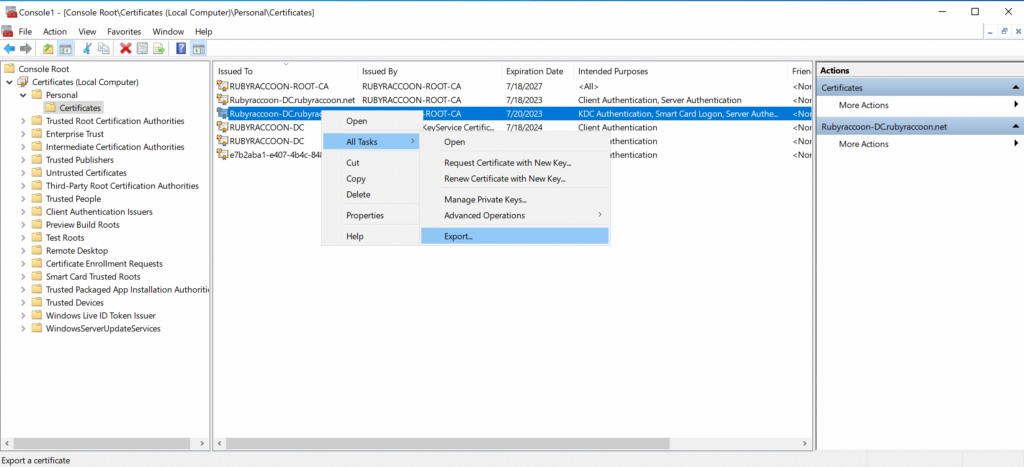
- Right click on recently generated certificate and select All tasks → Export.
- Click Next on the first screen.
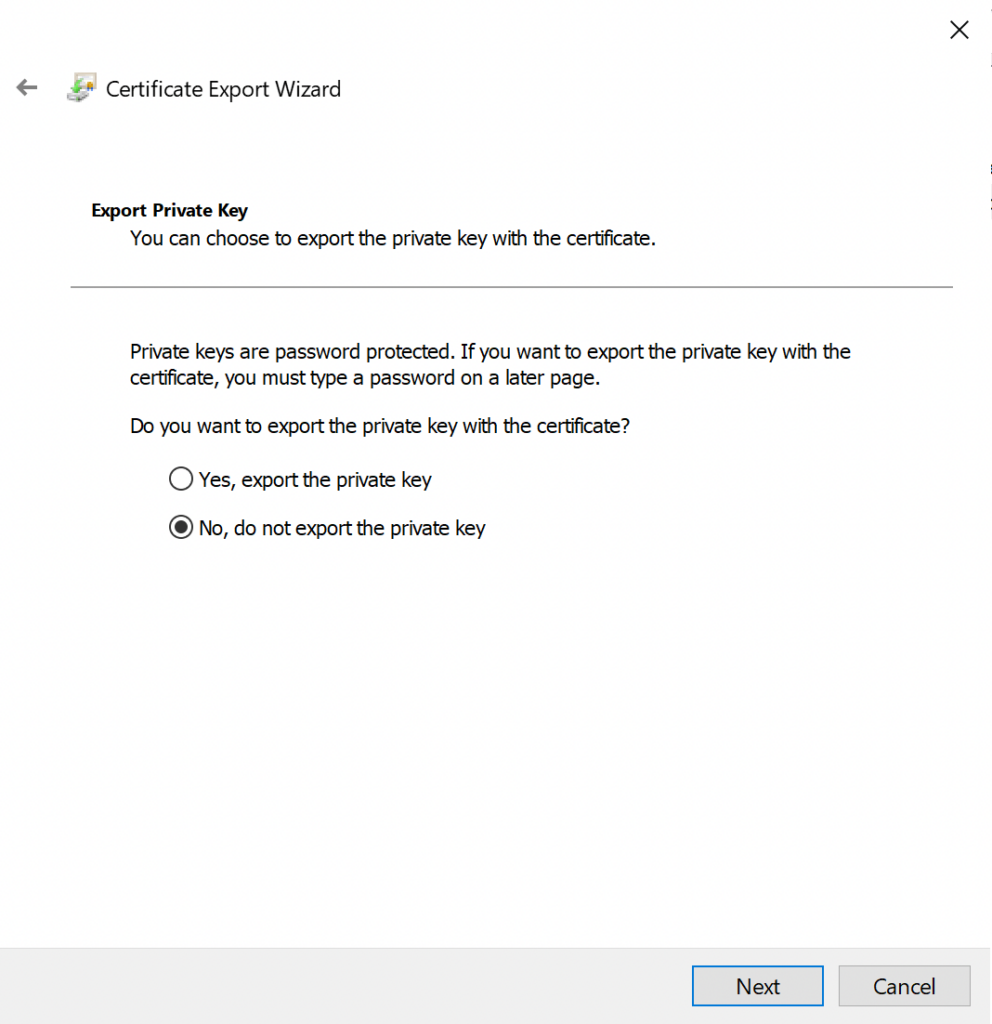
- Choose No, do not export the private key, then click Next.
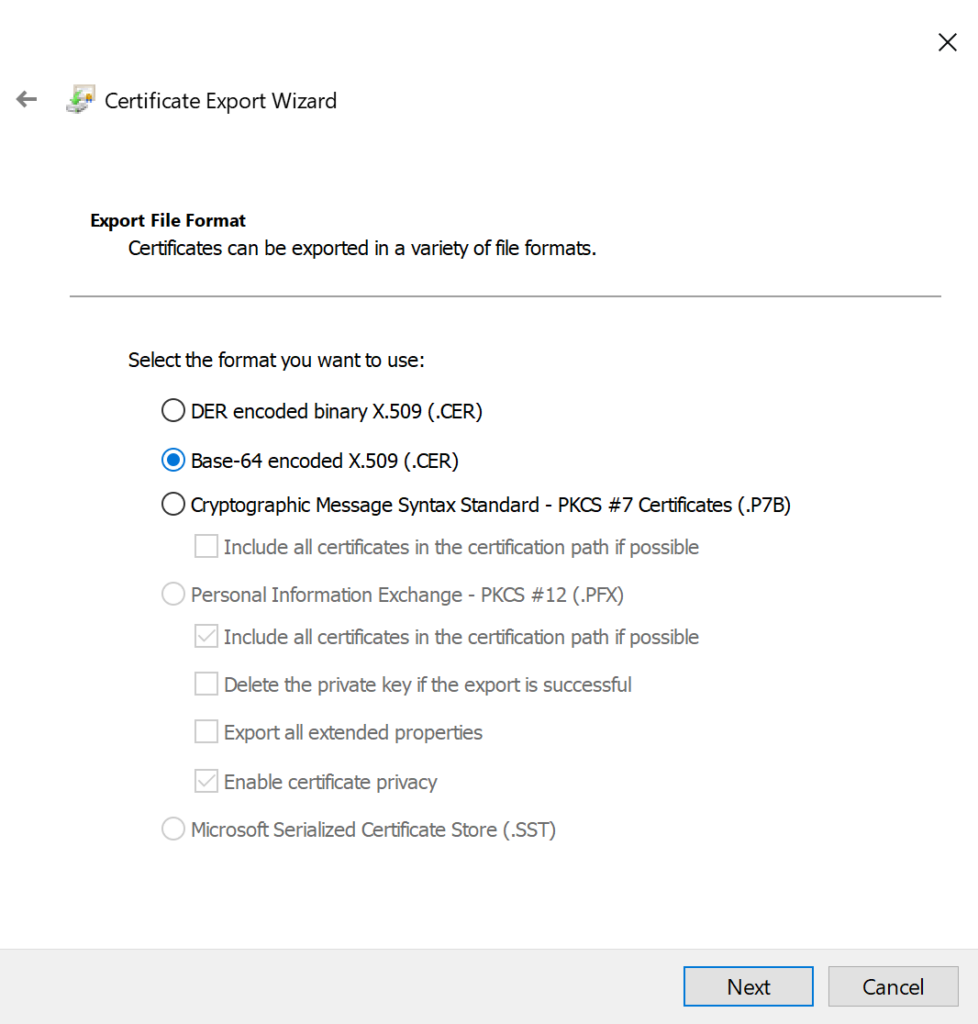
- Choose Base-64 encoded x.509 (.CER), then click Next.
- Choose a location to save the certificate, like your Desktop, then click Next.
- Click Finish.
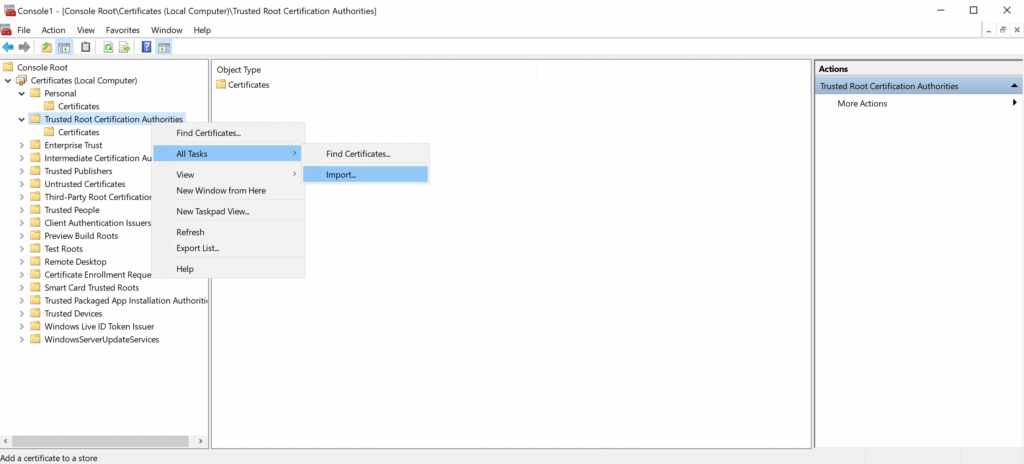
Install Jamf Pro CA Certificate to the Domain Controller Trusted Root Certificate Store
- Log into your Jamf Pro from your Windows Server.
- Navigate to Settings → Global Settings → PKI Certificates → Management Certificate Template.

- Click Download CA Certificate.
- Navigate back to the MMC Certificates Console, right click on Trusted Root Certification Authorities → Import.
- Click Next on the first screen.
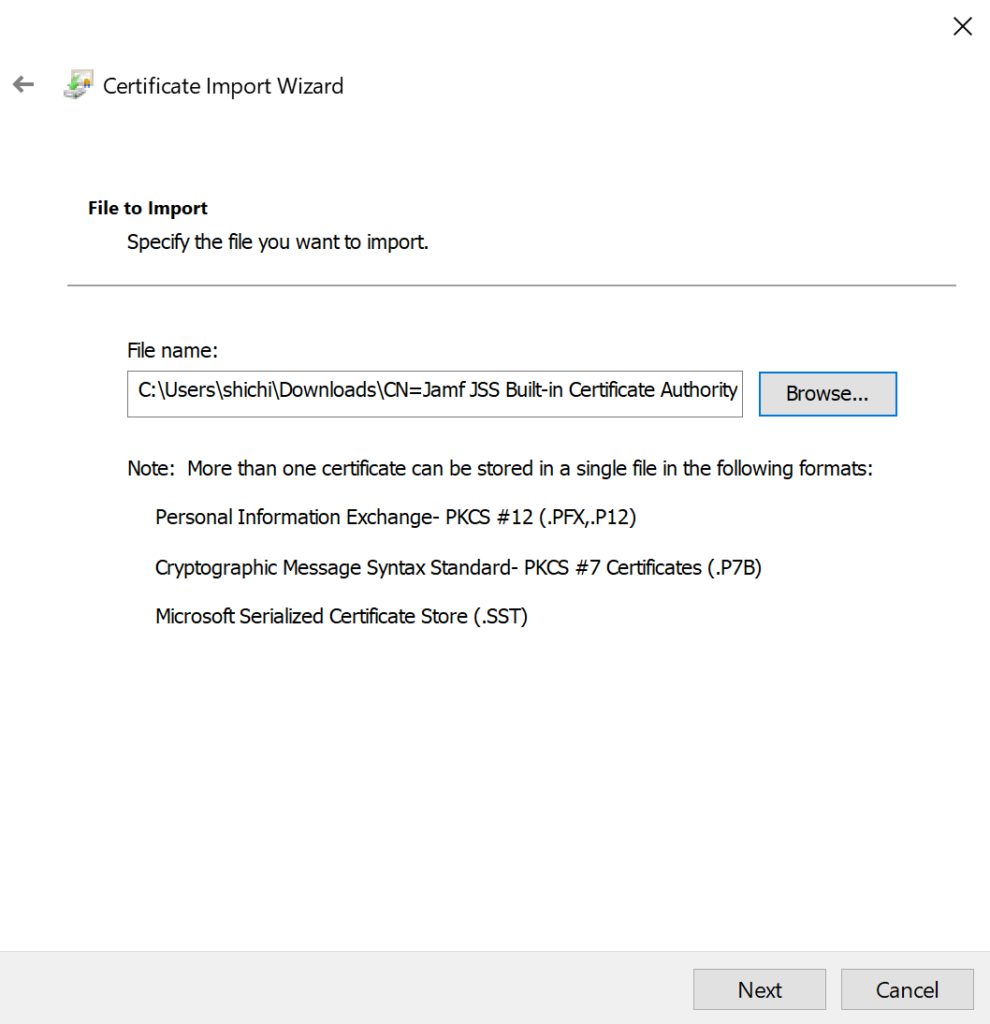
- Click Browse and navigate to your downloads folder.
- Click the dropdown next to the filename field that says X.509 Certificate and change to All Files.
- Select your Jamf Pro CA certificate and click Open.
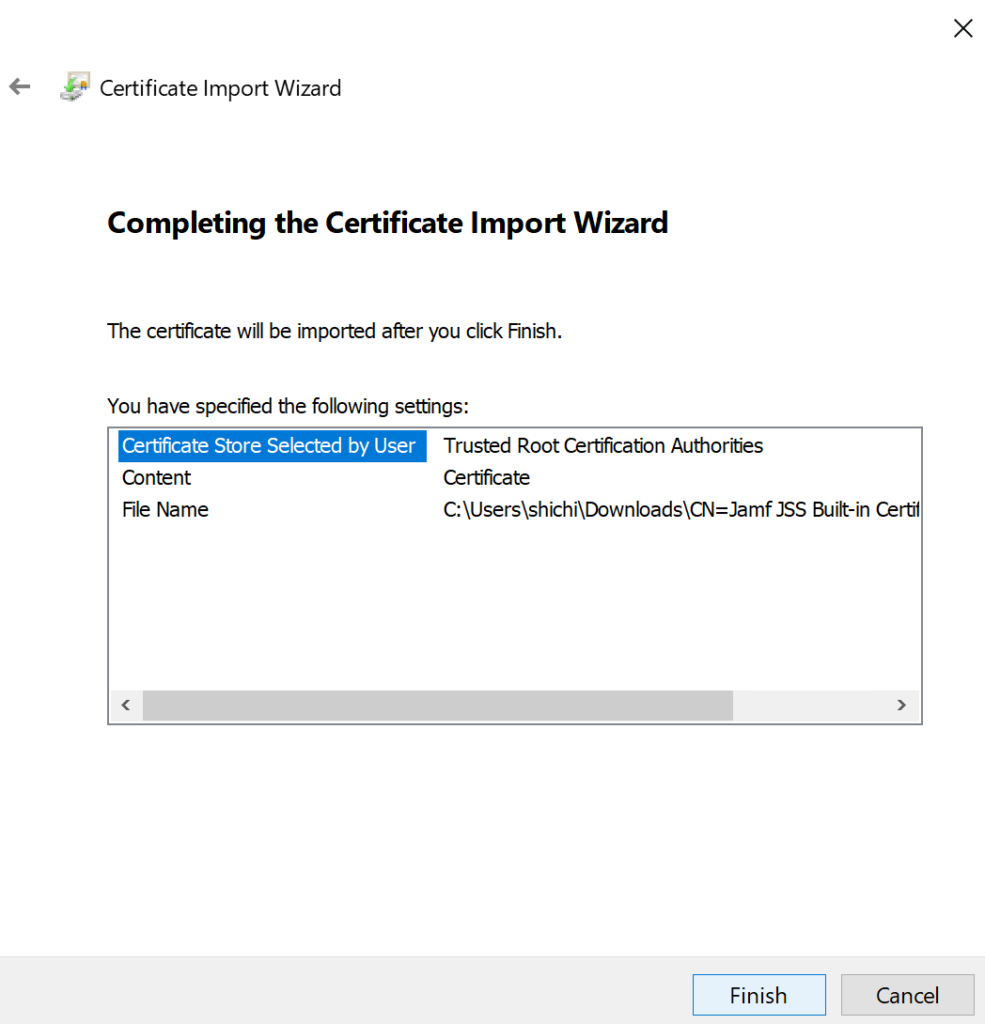
- Click Next to advance through the Certificate Store screen.
- Click Finish to complete the import.
- Restart your domain controller.
Connect Jamf Pro to LDAPS
- Log into your Jamf Pro server from your Domain Controller, then navigate to Settings → LDAP Servers.
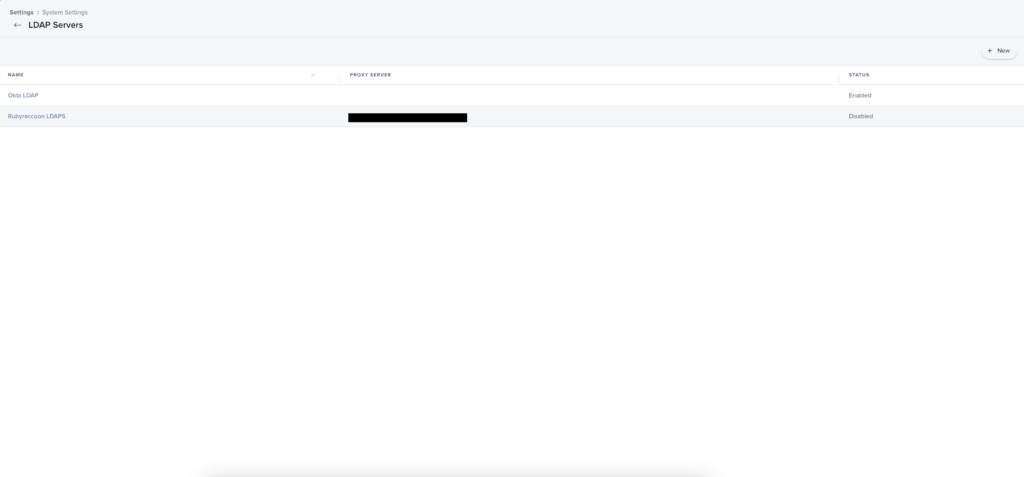
- Click New.
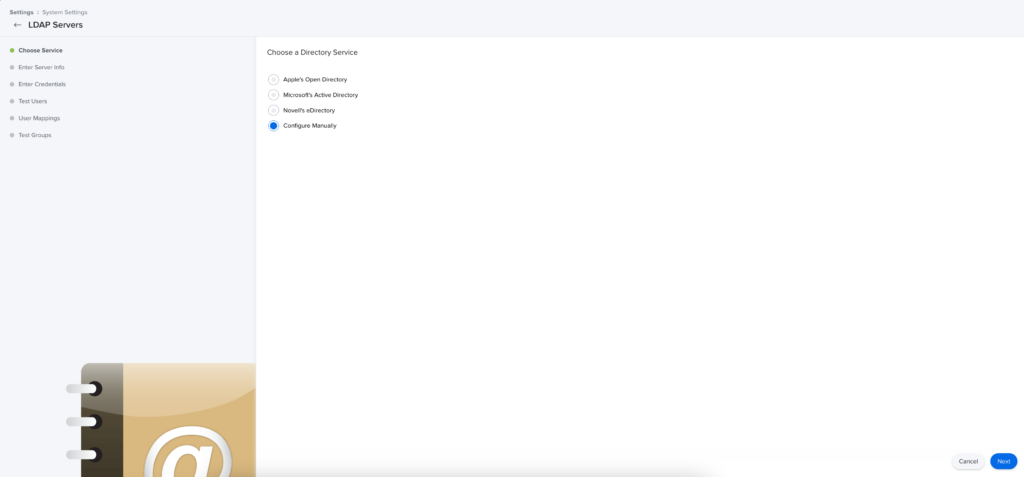
- Choose Configure Manually.
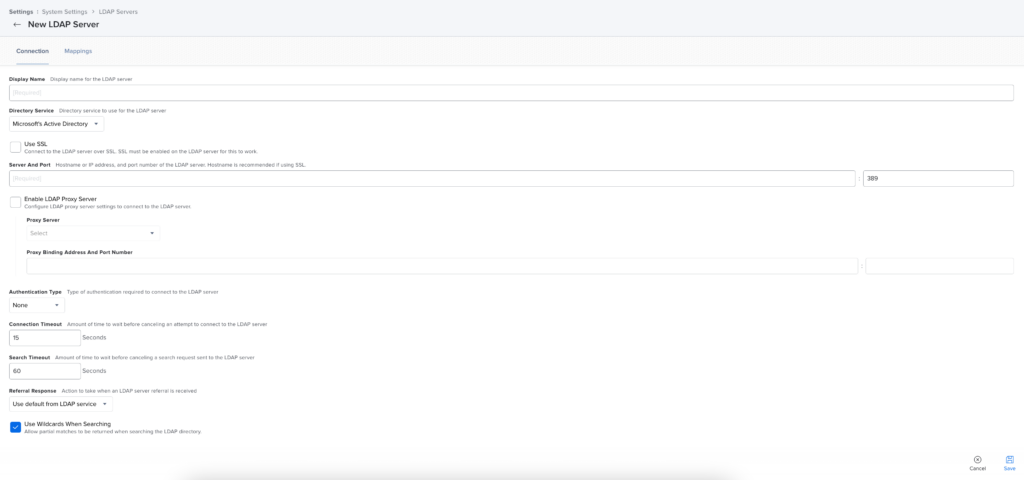
- Enter a descriptive display name.
- Ensure Microsoft’s Active Directory is chosen as the Directory Service.
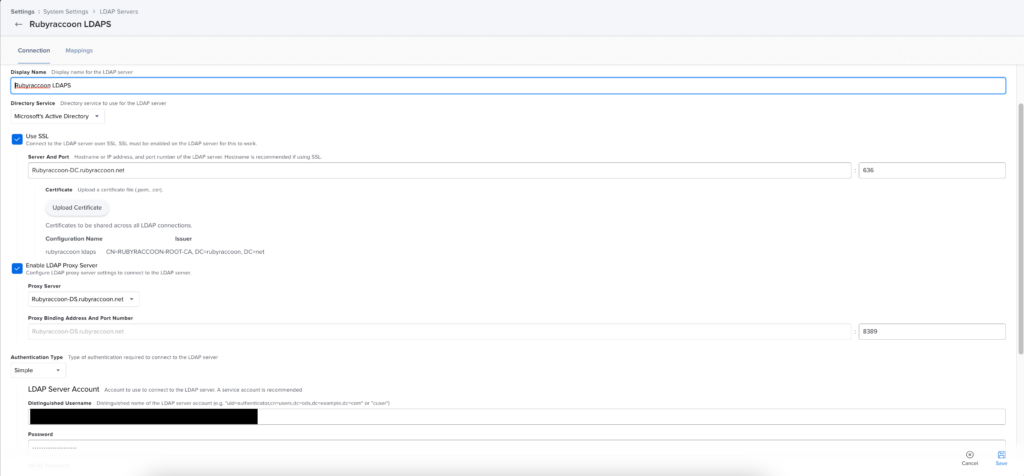
- Select Use SSL.
- Enter in the Fully Qualified Domain Name (FQDN) of your Active Directory Domain Controller or load balancer.
- FQDN is sometimes also called DNS name.
- Upload your LDAPS certificate generated in the previous steps.
- Optionally, enter your LDAP Proxy Server and port (Jamf Infrastructure Manager).
- Choose Simple under the Authentication Type drop down.
- Enter the Distinguished Name of your LDAP service account.
- For example: CN=Jamf Pro Connector,CN=Managed Service Accounts,DC=rubyraccoon,DC=net
- The first CN= wants the users Common Name (Full first and last name of the user)
- The second CN= wants the type of account (User vs Managed Service Accounts)
- The first DC= wants the domain name without the Top Level Domain (TLD)
- The second DC= wants the TLD.
- EG: Jamf Pro Connector, part of Managed Service Accounts, under the rubyraccoon.net domain.
- This could also look like: CN=Jamf Pro Connector,CN=Managed Service Accounts,DC=ad,DC=rubyraccoon,DC=net
- EG: Jamf Pro Connector, part of Managed Service Accounts, under the ad.rubyraccoon.net domain.
- For example: CN=Jamf Pro Connector,CN=Managed Service Accounts,DC=rubyraccoon,DC=net
- Enter and confirm the password for the service account.
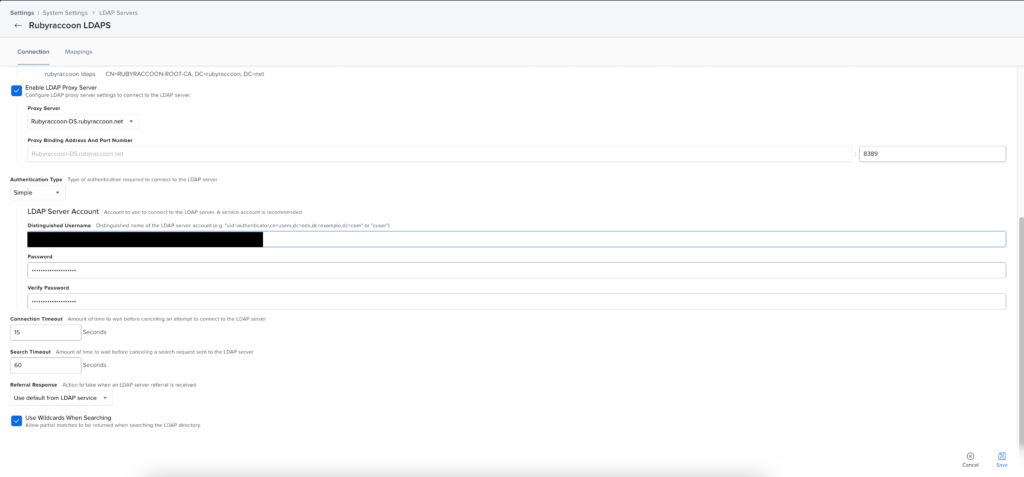
- Save the configuration.
- If it fails to save, it’s either an issue with the FQDN/DNS Name, the LDAPS certificate, or the Service Account permissions/password.
- Edit the configuration once more, then choose Mappings.
- Fill out the mappings per Jamf documentation here, https://docs.jamf.com/technical-articles/LDAP_Attribute_Mappings_Reference.html .
Testing LDAP lookups
- Click Test after configuring LDAPS per the instructions above.
- Search for your Active Directory Username.
- Click User Group Membership and search for your username and a group you know you should be a part of.
Congratulations! You’ve now configured Jamf Pro with a Secure LDAP Server!