Everyone has to start somewhere. I wrote a similar article for folks at work who wanted to learn more about working with servers and configuring different features of Jamf Pro. Most folks probably won’t need this, but maybe someone will. By the way, this is just a basic tutorial for beginners. There’s more than one way to do this, and there’s some security considerations you may want to consider in the future if you start integrating this with other services.
Note: You can use a Windows Server Evaluation for several years by renewing the evaluation by running this command in CMD or Powershell: slmgr -rearm. This is perfectly legal so long as the server is only ever used for learning & development.
Prerequisites
- A Windows Server VM. Preferably Windows Server 2019 or later.
- Enable Remote Desktop on the server. (Or just do it through the console.)
- Search “Remote Desktop Settings”, then toggle the radio button to enable remote desktop.
- Knowledge of installing Windows server roles.
Adding the Active Directory Domain Controller role
- Connect to your Windows Server and open Server Manager if it’s not opened automatically.
- Once loaded, click Manage in the top right corner, then click Add Roles and Features.


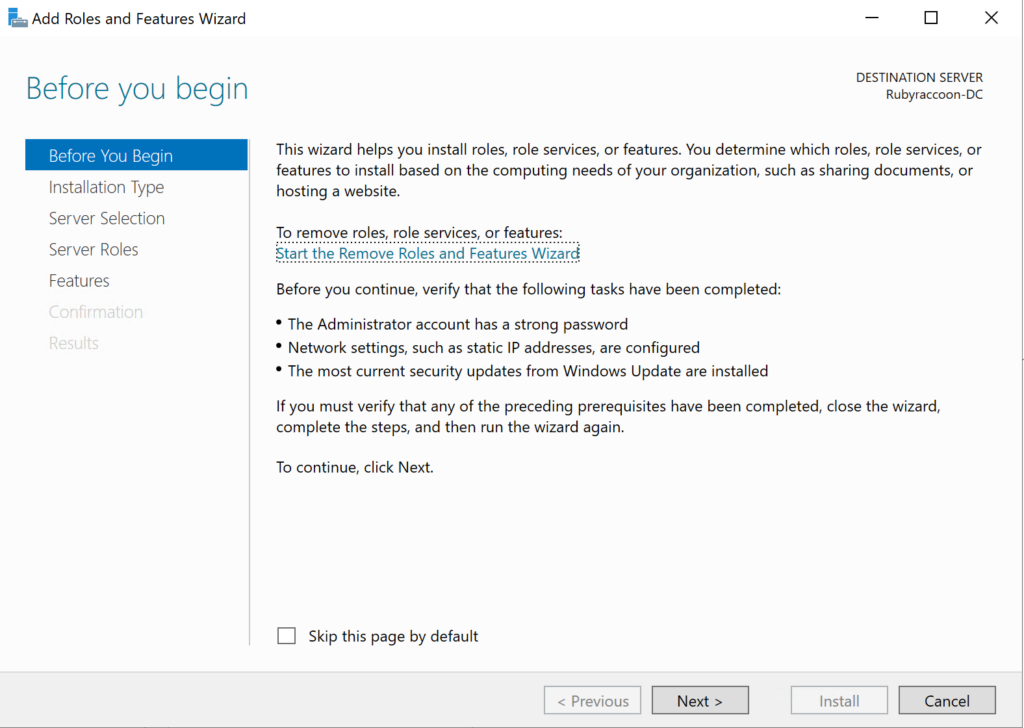
- Advance through the Before you begin section.
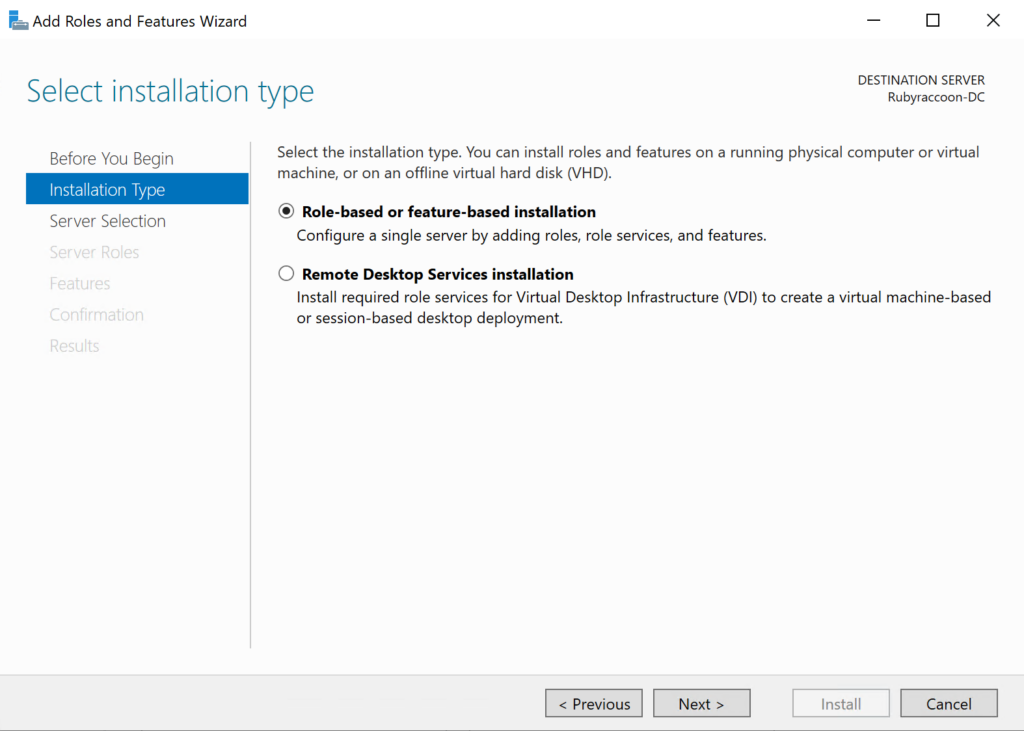
- Ensure Role or feature based installation is selected, then advance through the Installation Type section.
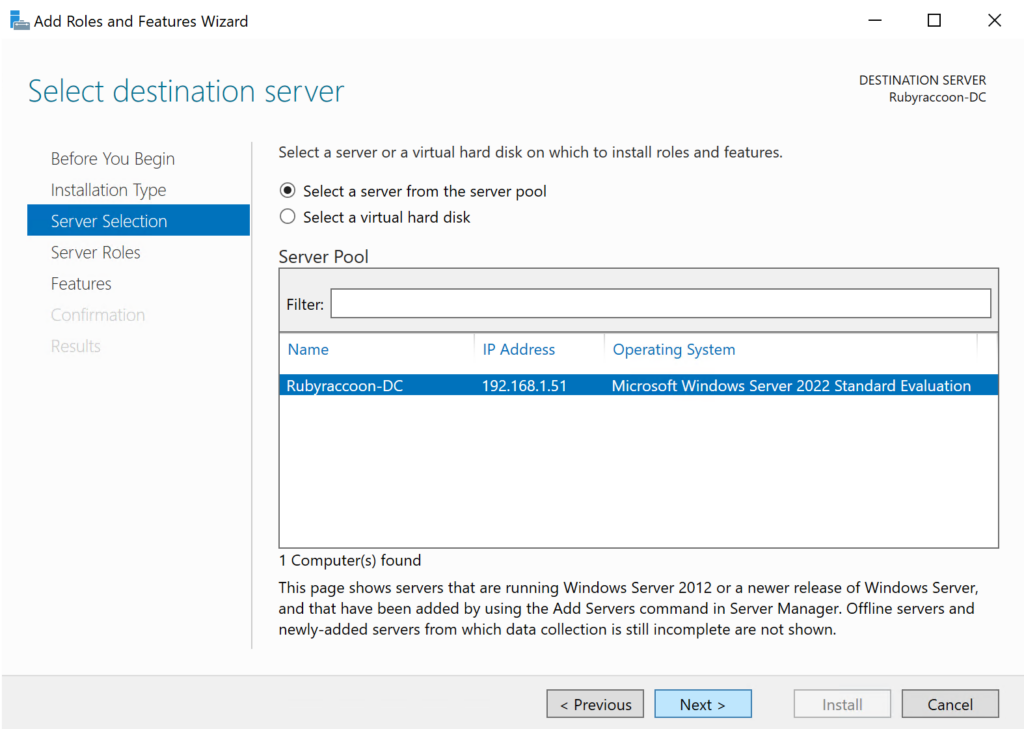
- Ensure that the correct server name and IP address are selected in the Server Selection section, then advance through this section.
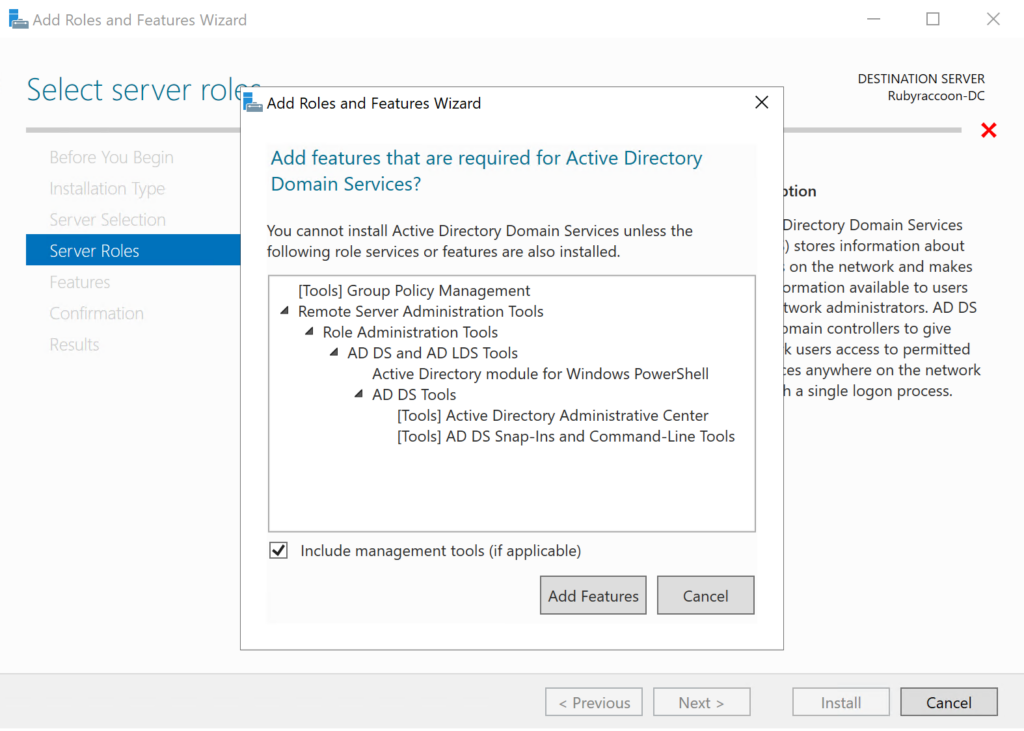
- Select Active Directory Domain Services in the list of Roles.
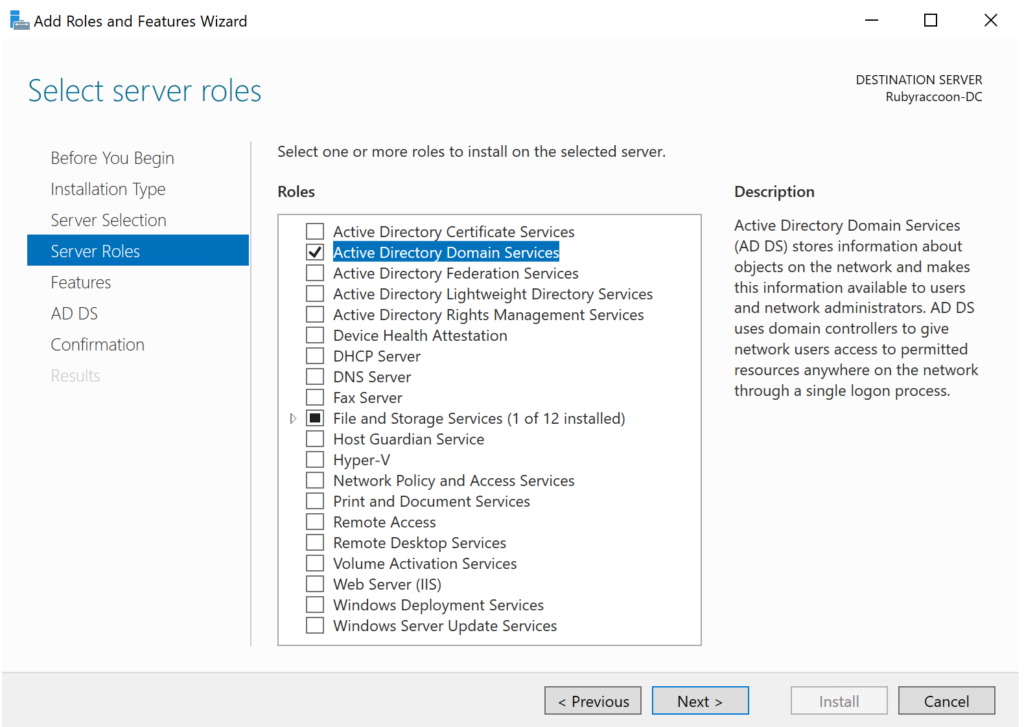
- Click Add Features on the pop-up window, then advance through the Server Roles section.
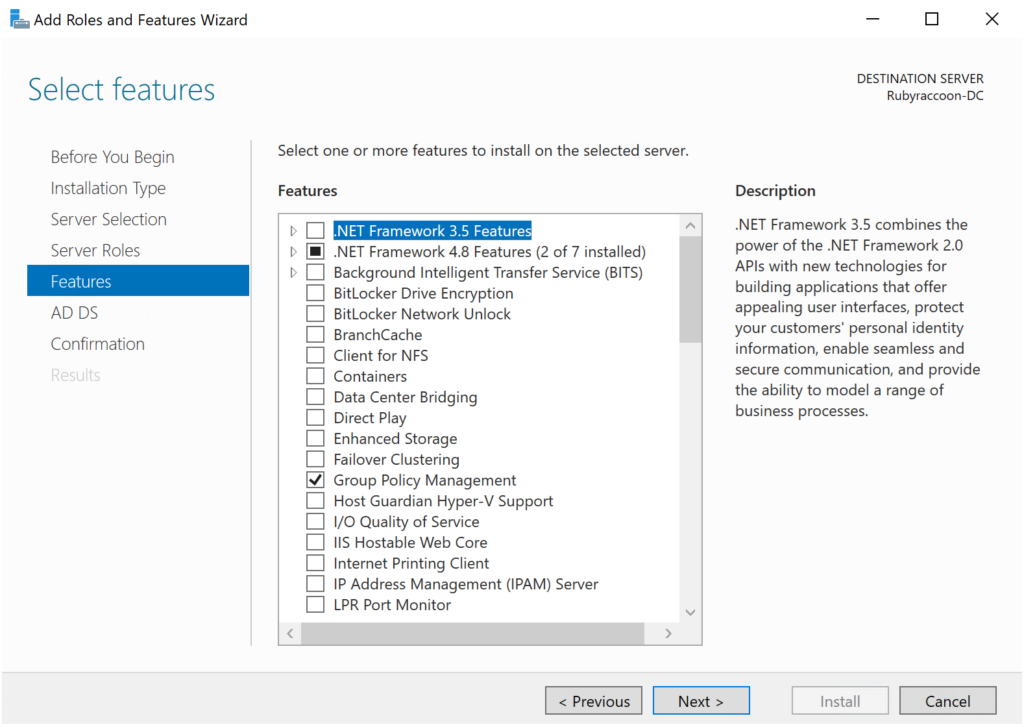
- Leave the default options checked under Features, then advance through that section.
- Advance through the AD DS section.

- Select Restart the destination server automatically if required and confirm the selection, then click Install
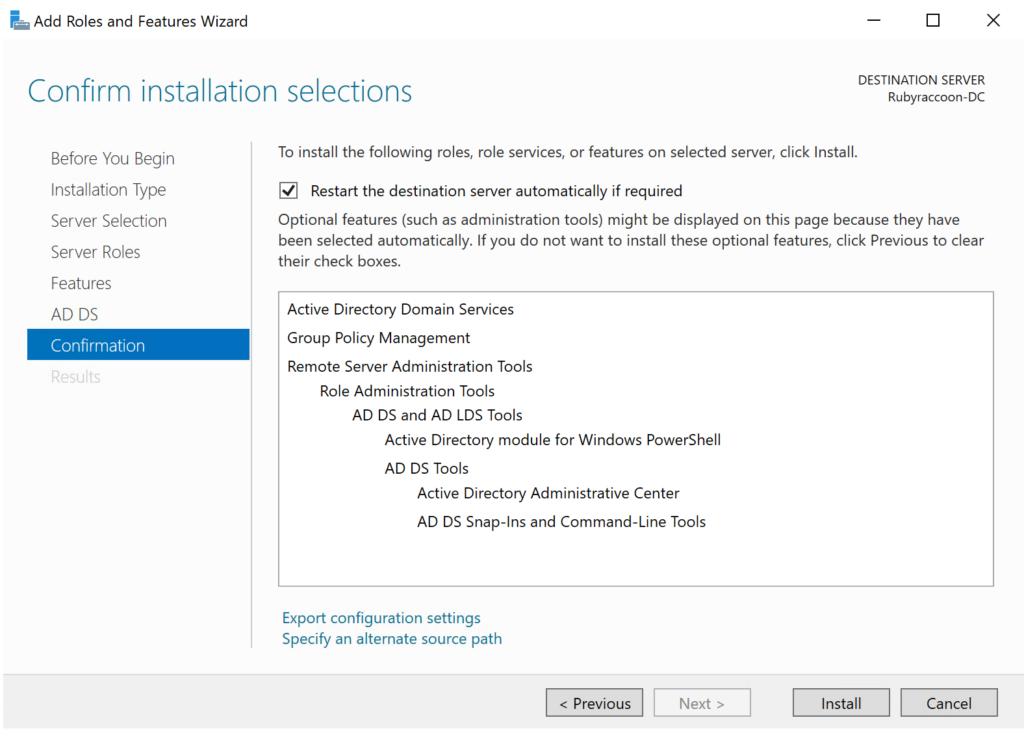
- Once finished, click Close.
Configure the server as a domain controller
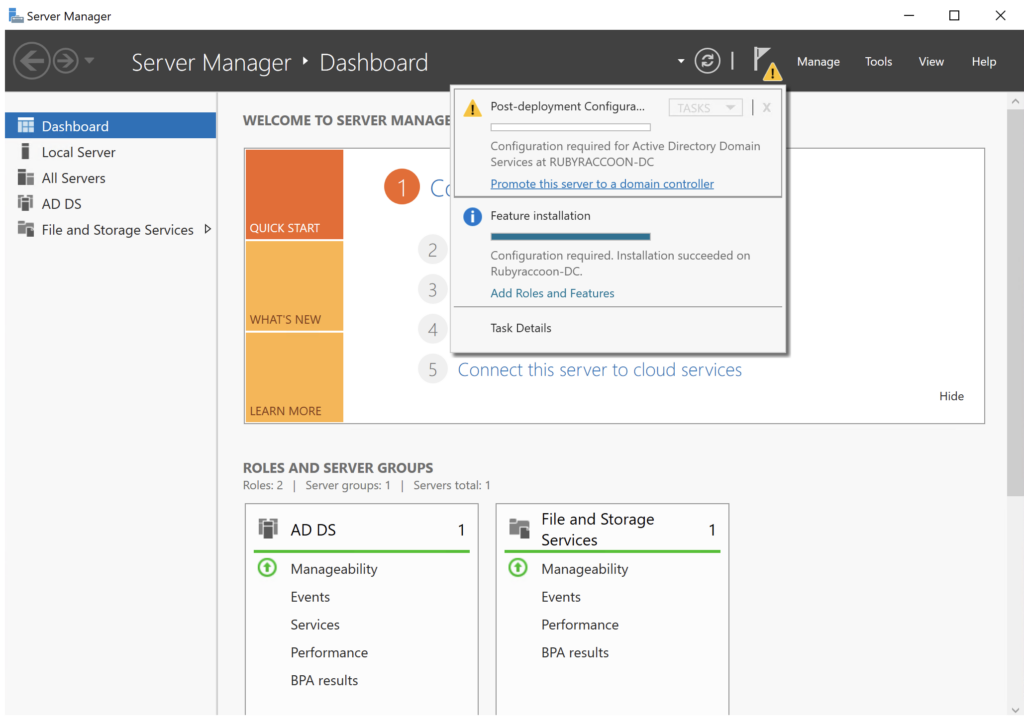
- In Server Manager, you’ll now see a notification has come up.
- Click on the notifications flag, then click Promote this server to a domain controller.
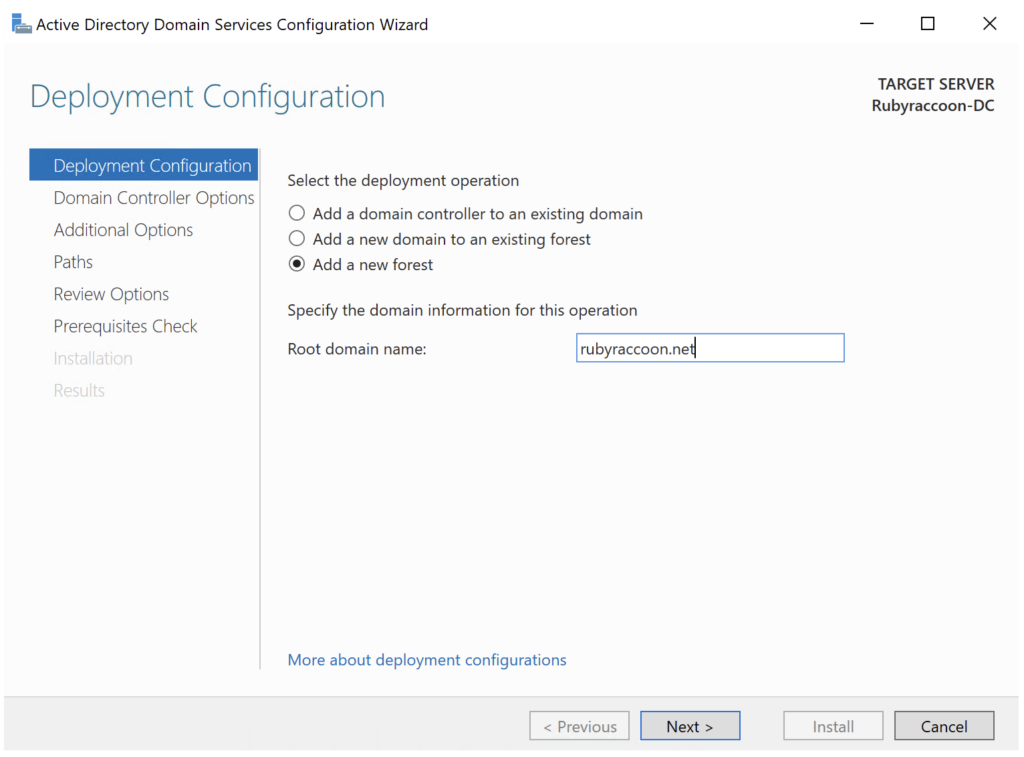
- Select Add a new forest and enter a name for your desired domain name. For your sanity, do not use .local or .ad. Commonly, .net is used for network services like domains, though .com or .org would work as well. Then click Next to proceed to the next screen.
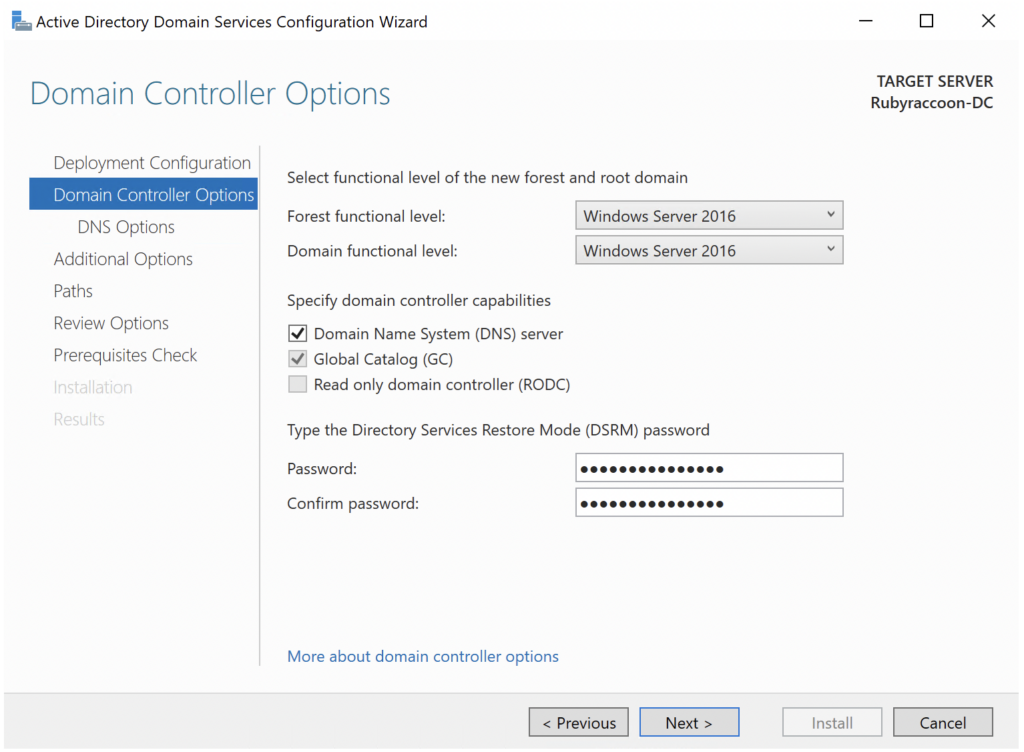
- Ensure that the Domain and Forest Functional levels are set to Windows Server 2016 (yes, even if you’re on Server 2019 or 2022), then enter a DSRM password.
- This password should be something you’ll easily remember. Since it’s a personal test environment it doesn’t need to be the most secure password in the world.
- You probably won’t need this ever. If something goes wrong it’s easier to nuke and pave a test environment than fix it.
- Advance through the DNS Options section.
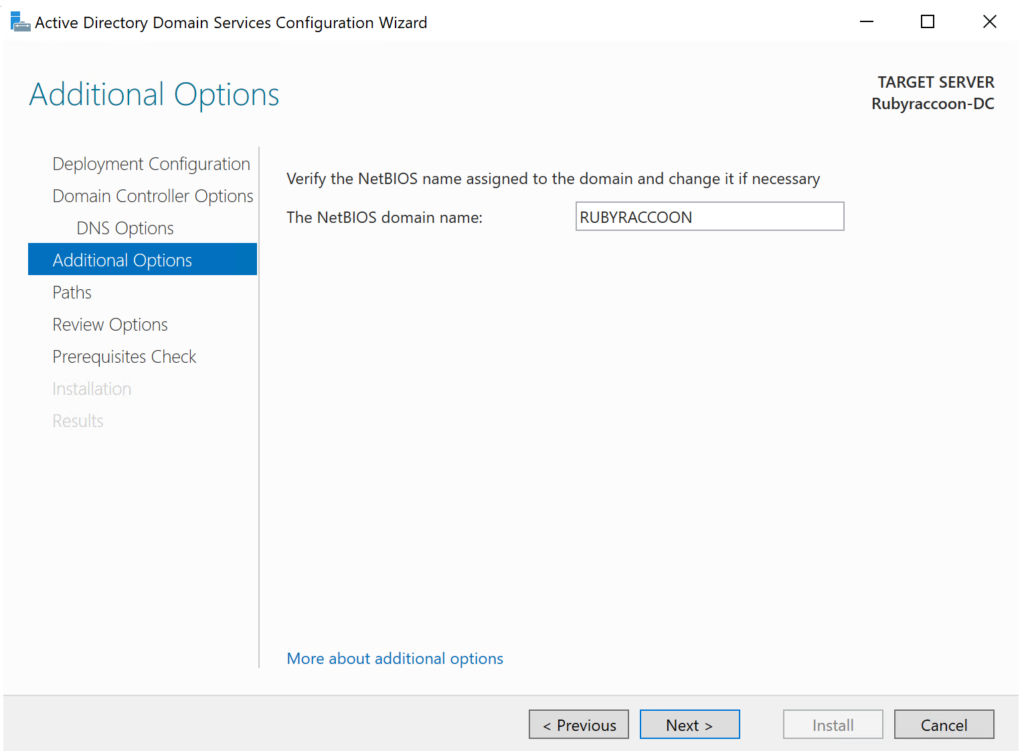
- Verify that the NETBIOS name is correct, then proceed to the next section.
- This should match the domain name you chose earlier. It can be anything though, so long as it is under 15 characters and does not contain certain special characters or spaces.
- Leave the default options checked for the Paths section, the proceed to the next section.
- Proceed through the Review Options section.
- Wait for the prerequisites to be validated, then click Install.
- Have a cup of tea while waiting for the server to install and reboot, then reconnect to it over Remote Desktop after a few minutes.
- During the reboot, the server will have to perform some automatic actions. Give it like 5 minutes, then reconnect once it restarts automatically.
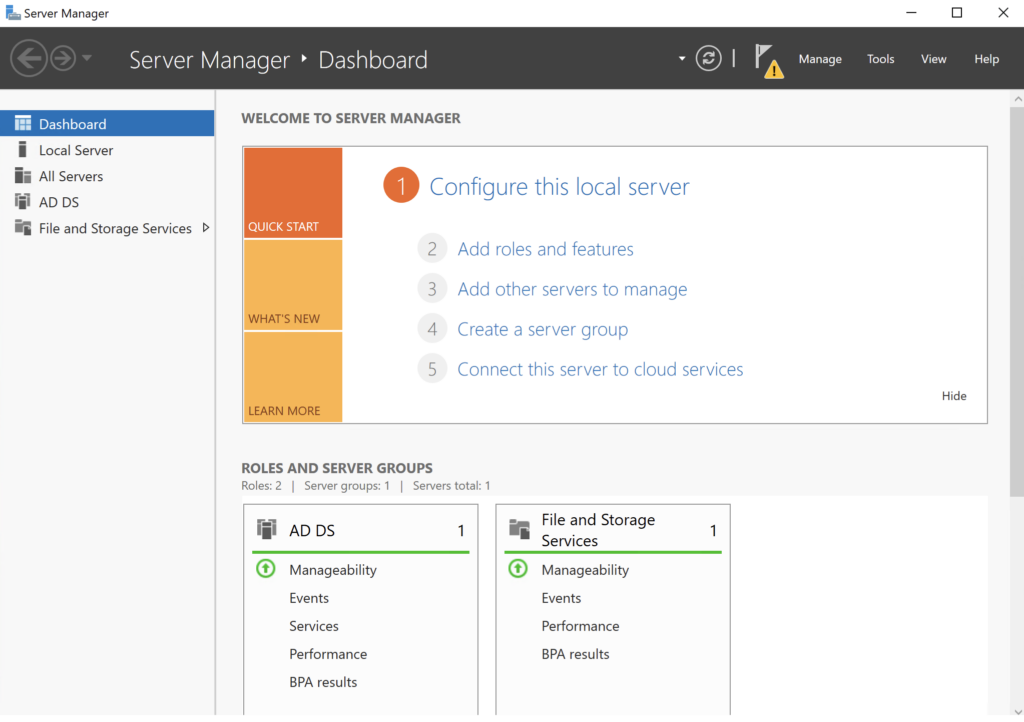
- Once a few minutes have passed, log back into the server via remote desktop and open Server Manager once more.
- Click on Local Server. You should now see that your server is joined to the domain as a domain controller!
Creating users in Active Directory
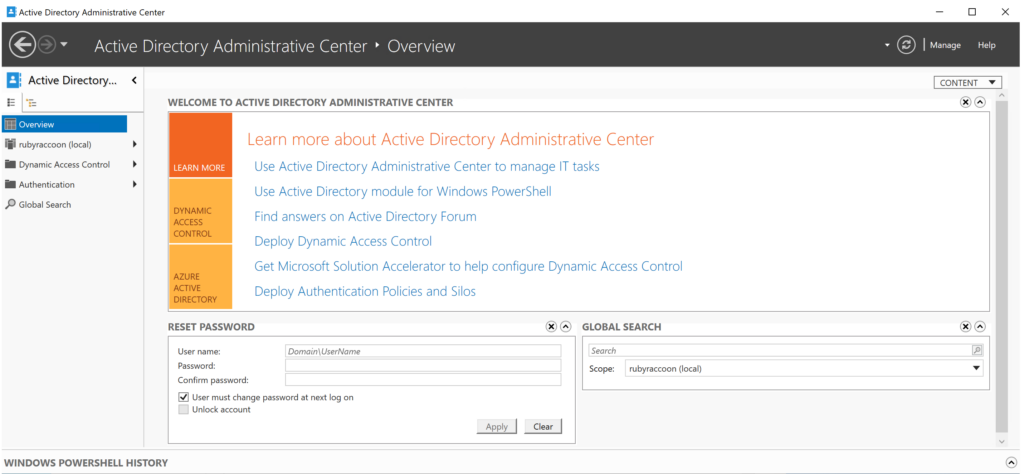
- Search Active Directory Administrative Center in the Windows Search box and open the program.
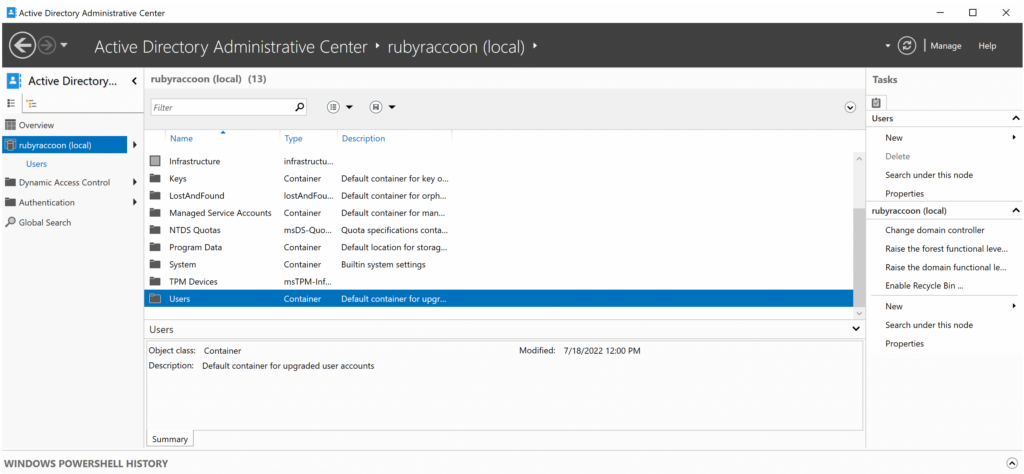
- Click on your domain name, then scroll down and double click on Users.
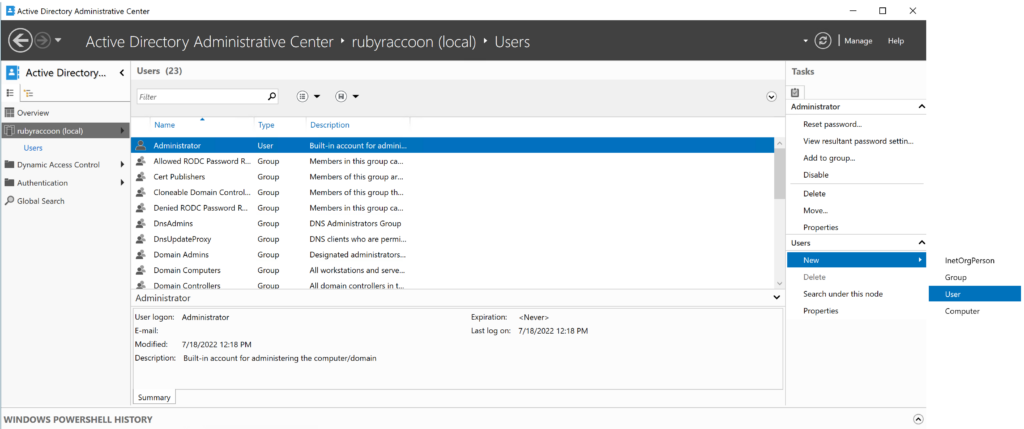
- Find the New option on the right sidebar, then click User.
- Configure your test user account to your desire. Go wild here and fill out everything here to your hearts desire.
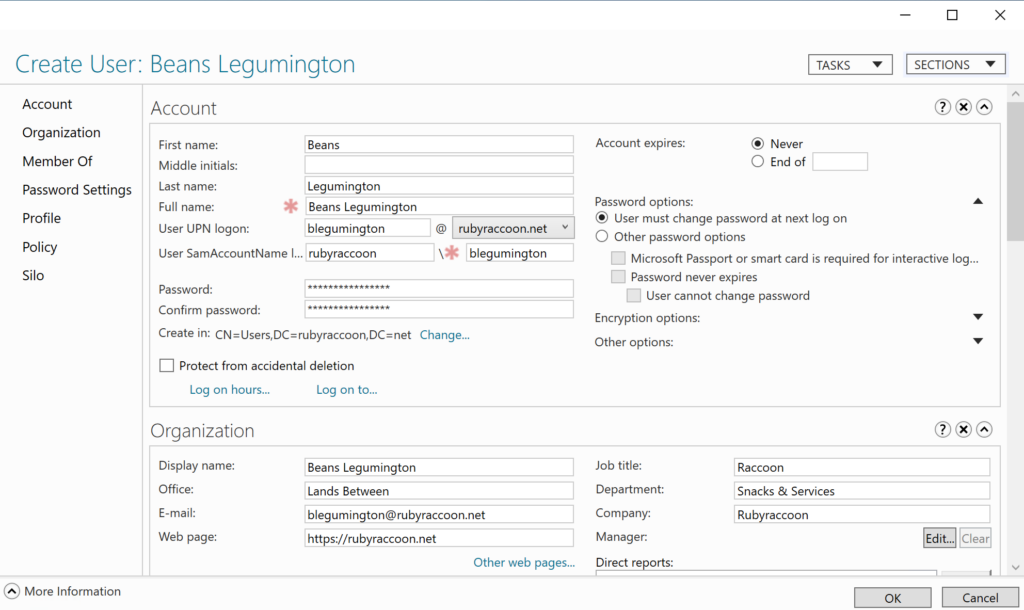
- Ensure your user is a member of at least Domain Admins and Enterprise Admins if you’re planning to use this account to manage the AD environment.
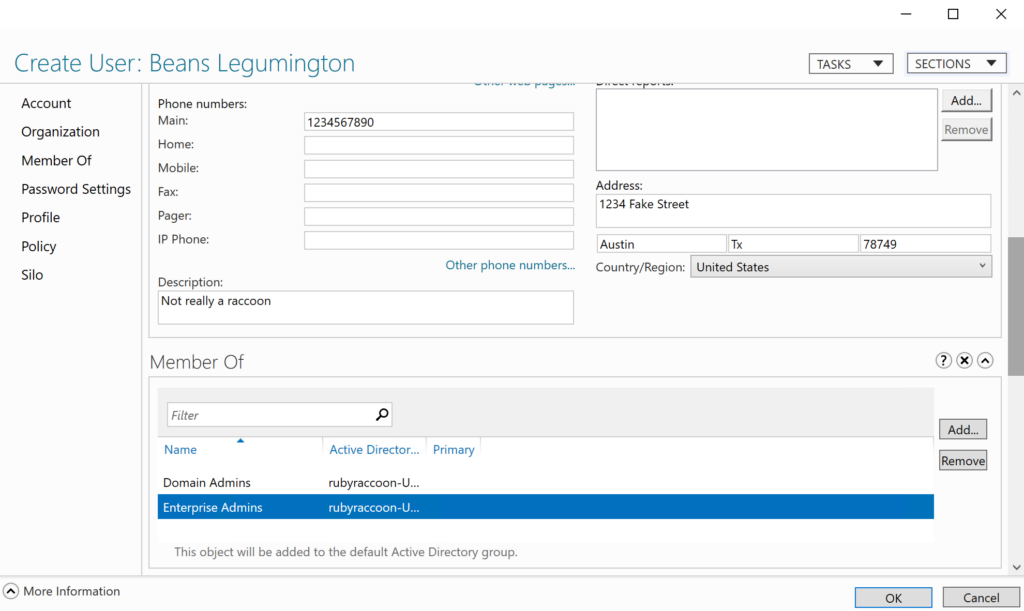
- Click OK.
- Log out from the Administrator account, then reconnect with your new account.
Congratulations! You now have an Active Directory Domain Controller and a user account to test with!