This is a simple tutorial for folks starting off with Active Directory. This focuses on creating a Certificate Authority to use internally. This leads into creating resources in later articles to use with Jamf Pro to distribute certificates to Macs and iOS devices.
Prerequisites
- A Windows Server VM joined to an Active Directory Domain.
- OR an existing Windows Server VM. You don’t need to have each service on it’s own VM in a test environment.
- Enable Remote Desktop on the server.
- Search “Remote Desktop Settings”, then toggle the radio button to enable remote desktop.
- Knowledge of installing Windows server roles.
Adding the Active Directory Certificate Services role
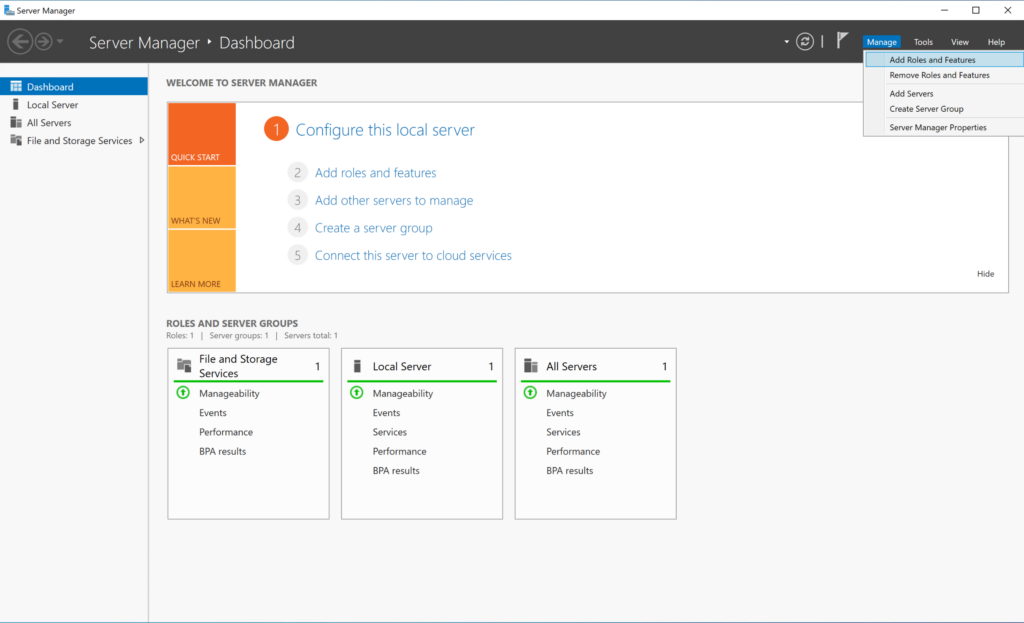
- Connect to your Windows Server and open Server Manager if it’s not opened automatically.
- Once loaded, click Manage in the top right corner, then click Add Roles and Features.


- Advance through the Before you begin section.
- Ensure Role or feature based installation is selected, then advance through the Installation Type section.
- Ensure that the correct server name and IP address are selected in the Server Selection section, then advance through this section.
- Select Active Directory Certificate Services in the list of Roles.
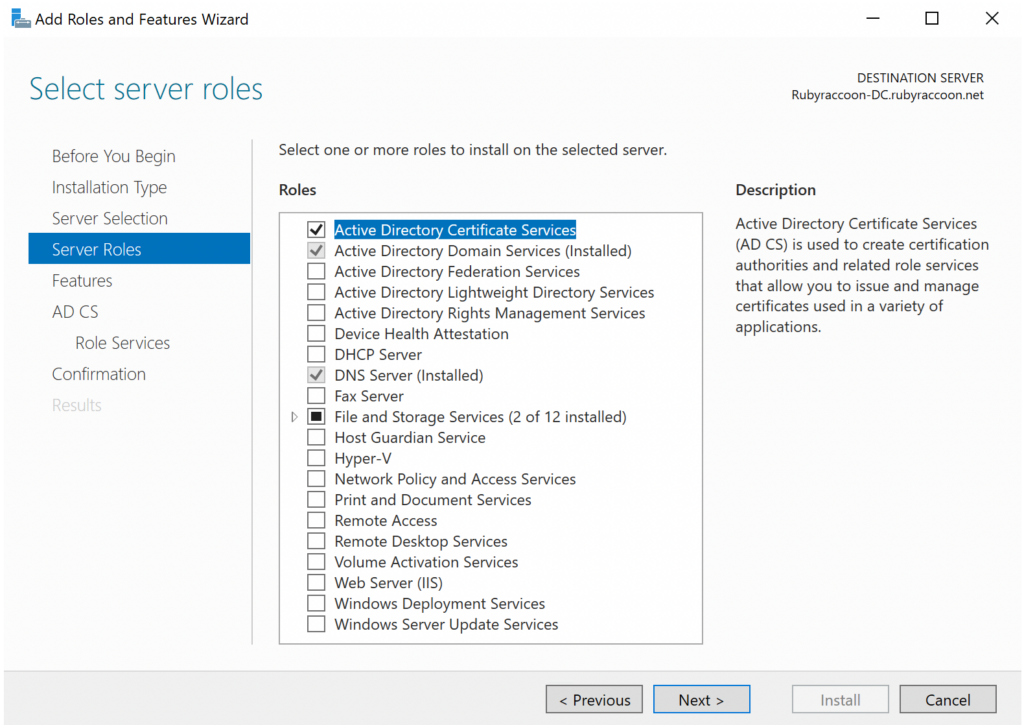
- Click Add Features on the pop-up window, then advance through the Server Roles section.
- Leave the default options checked under Features, then advance through that section.
- Advance through the AD CS section.
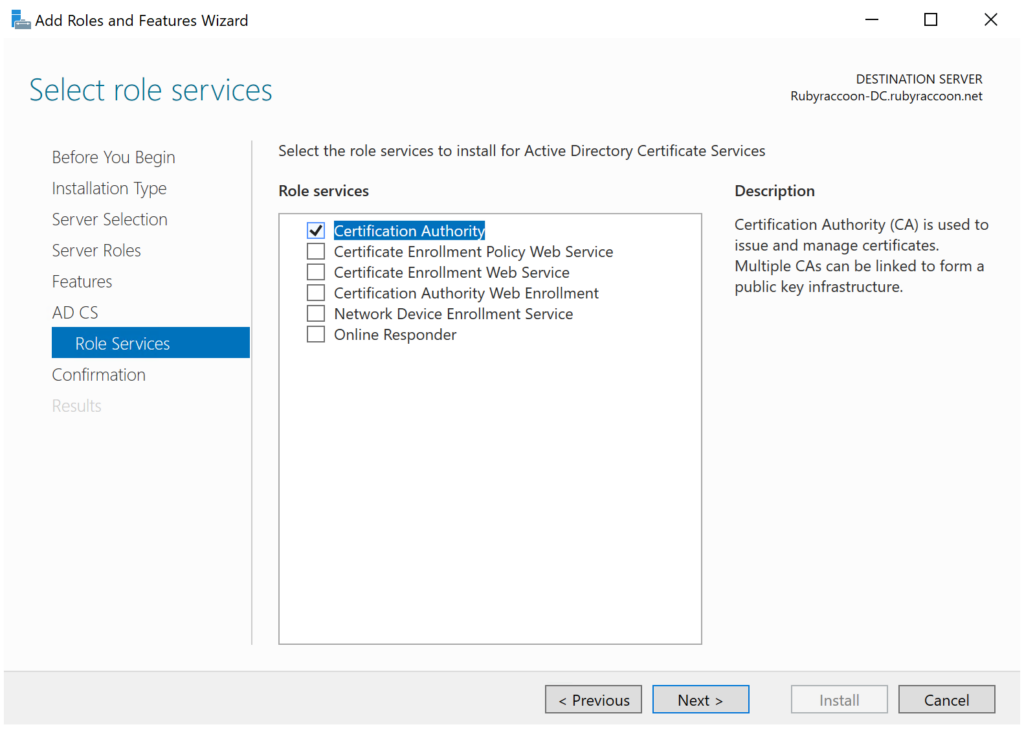
- Select Certification Authority in the Role Services section, then advance through the section.
- Other role services can be selected here if so desired, but I’m making a root CA and do not want these role services on my root CA.
- Select Restart the destination server automatically if required and confirm the selection, then click Install.
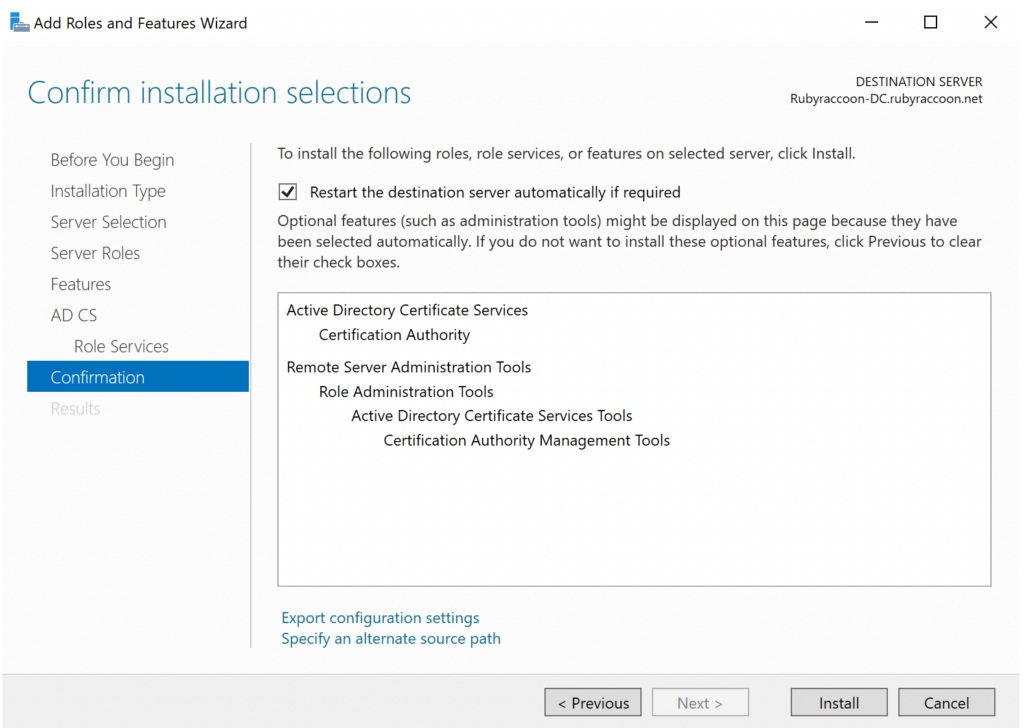
- Once finished, click Close.
Configure Active Directory Certificate Authority
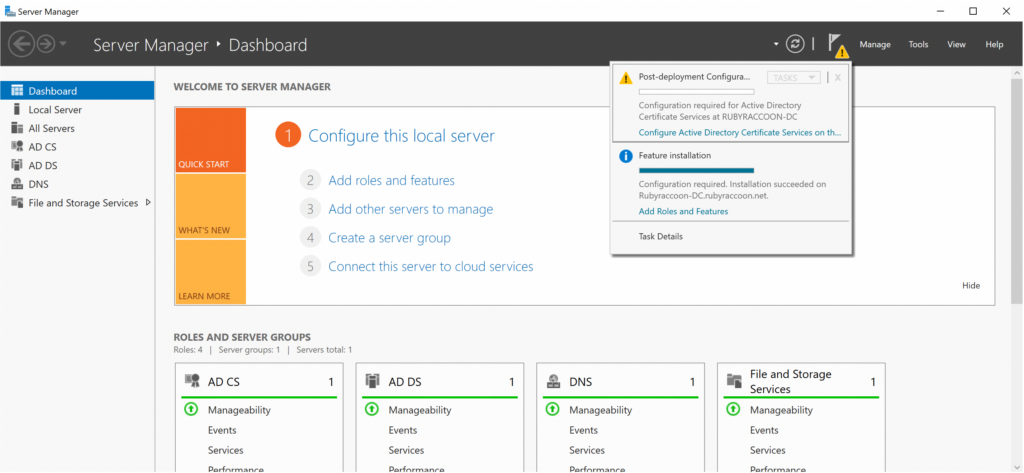
- In Server Manager, you’ll now see a notification has come up.
- Click on the notifications flag, then click Configure Active Directory Certificate Services on the destination server.
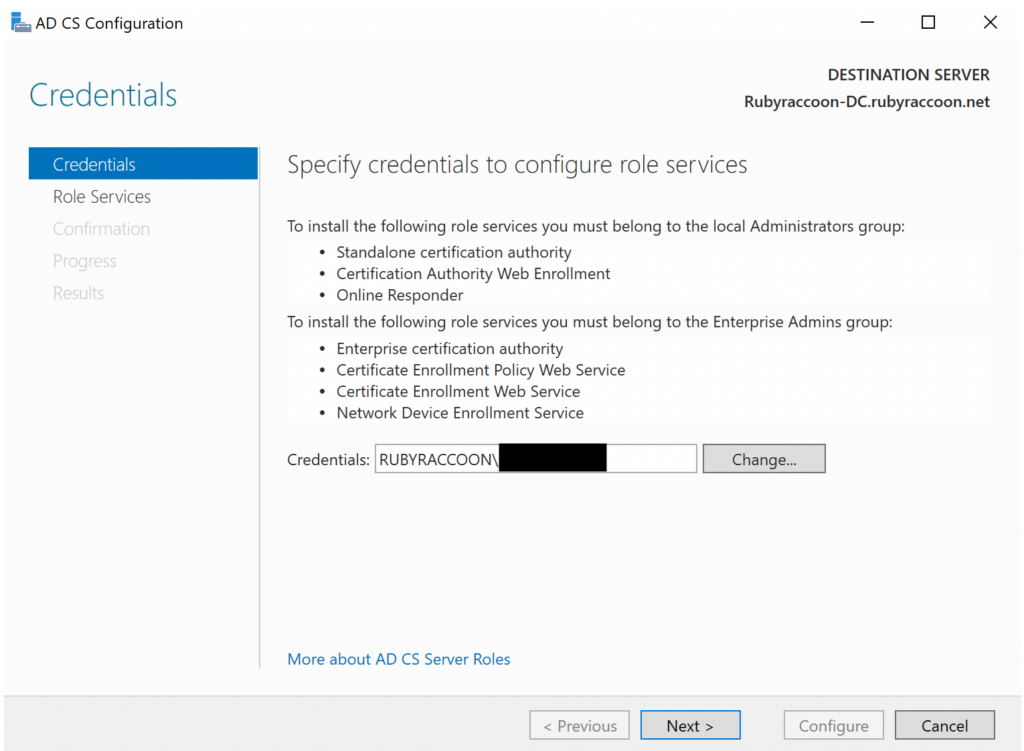
- Verify that your administrator account or Active Directory user account meets the installation criteria, then proceed to the next screen.
- The installer will not proceed until an acceptable account authenticates.
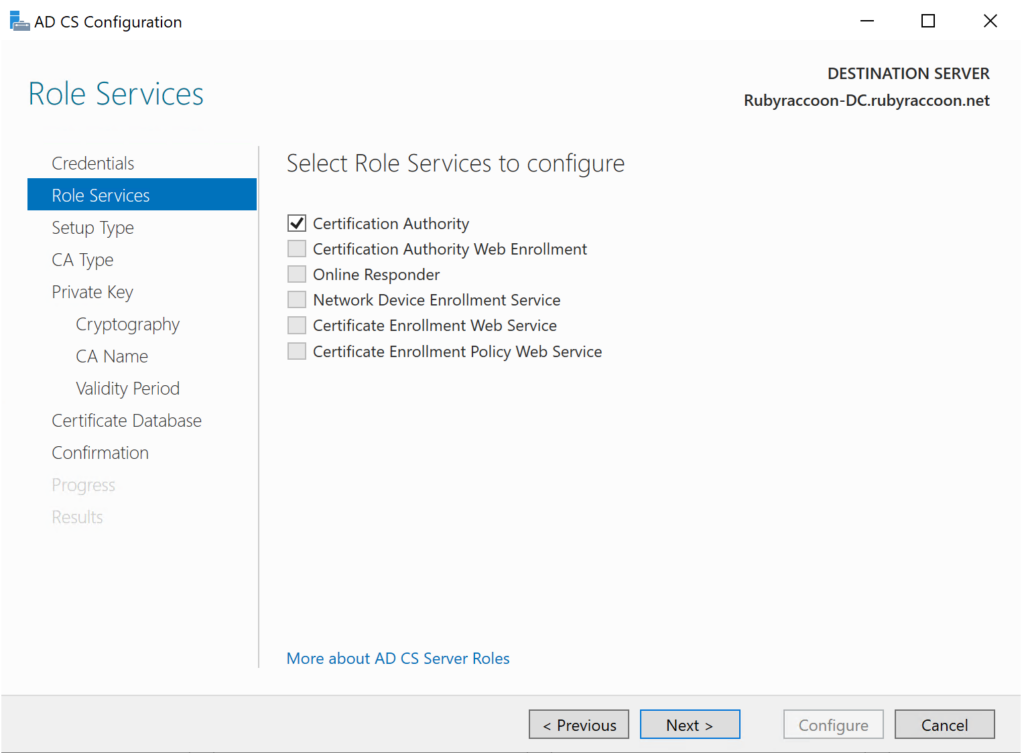
- Select Certification Authority under Role Services and wait a few seconds before you can move to the next screen.
- Ensure Enterprise CA is selected, then move forward to the next screen.
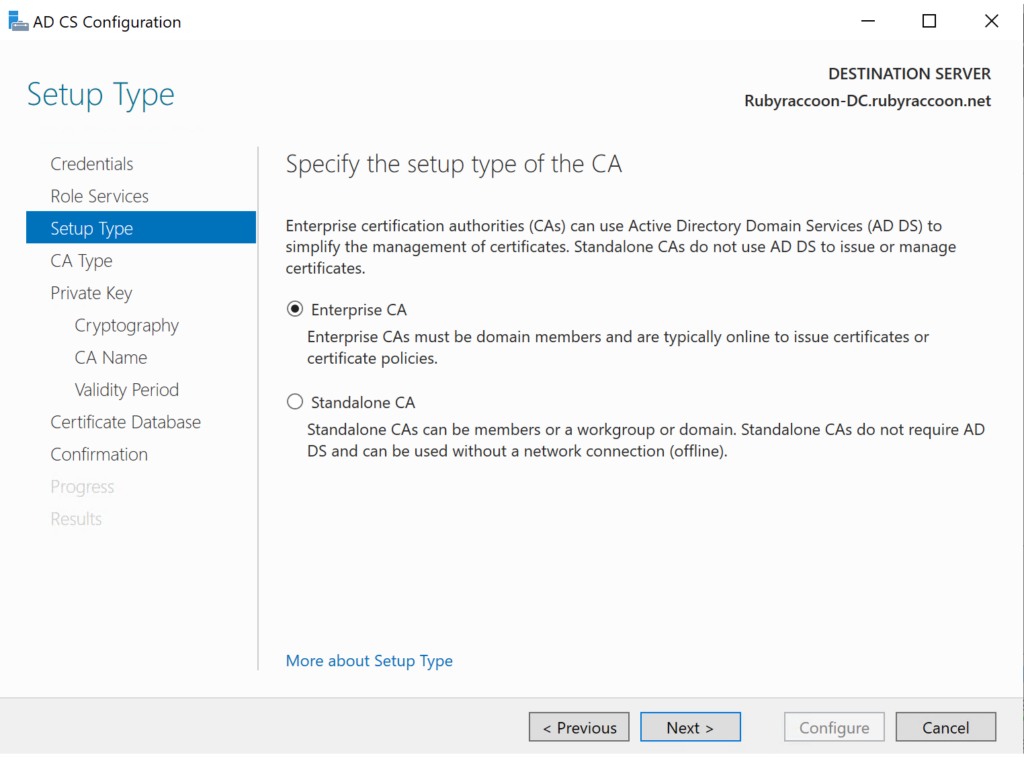
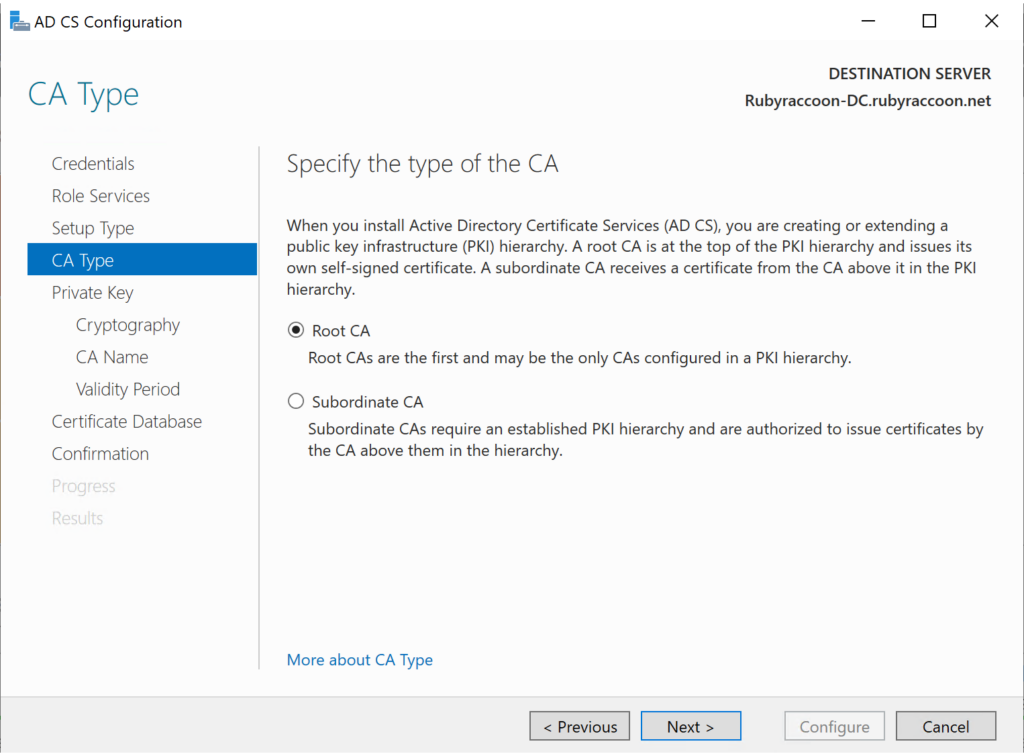
- Select the appropriate CA type. For this guide, we are configuring a root CA.
- Once a root CA is configured, you can choose to create a subordinate CA on another Windows Server VM joined to the domain.
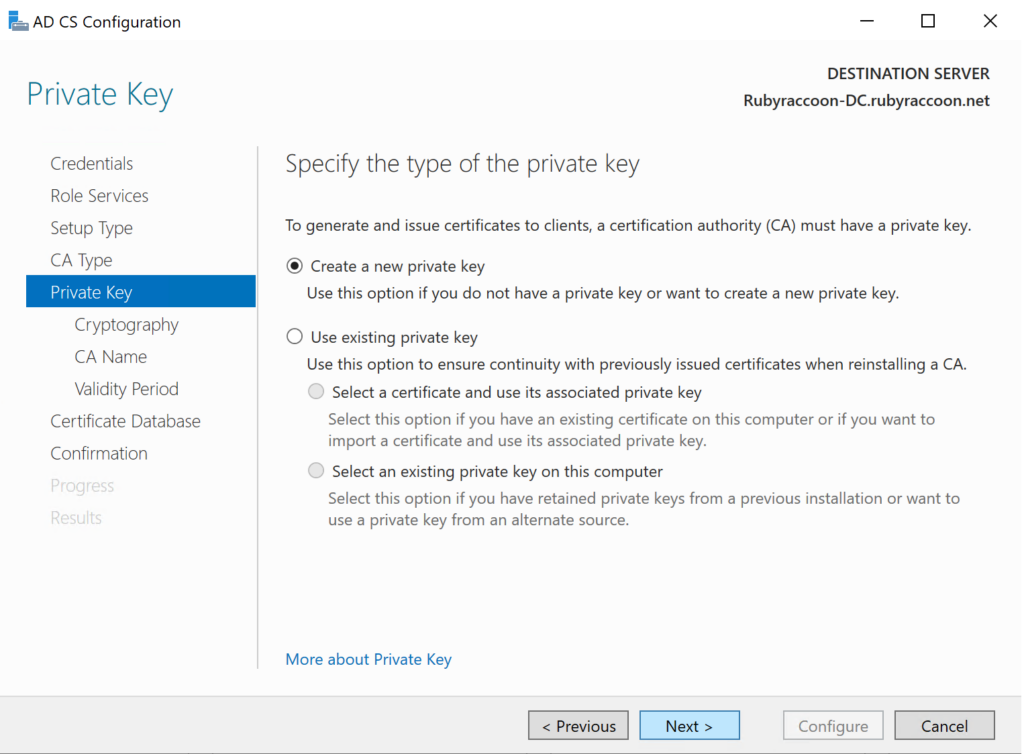
- Proceed with the default option to Create a new private key.
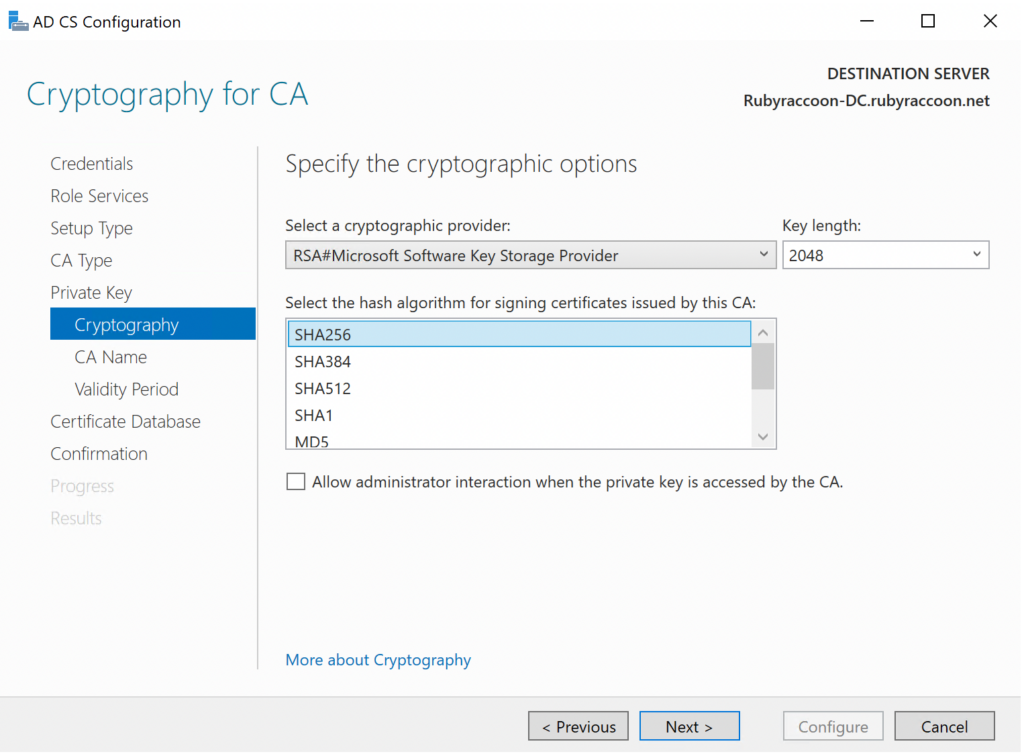
- Keep the default Cryptography settings, then proceed to the next section.
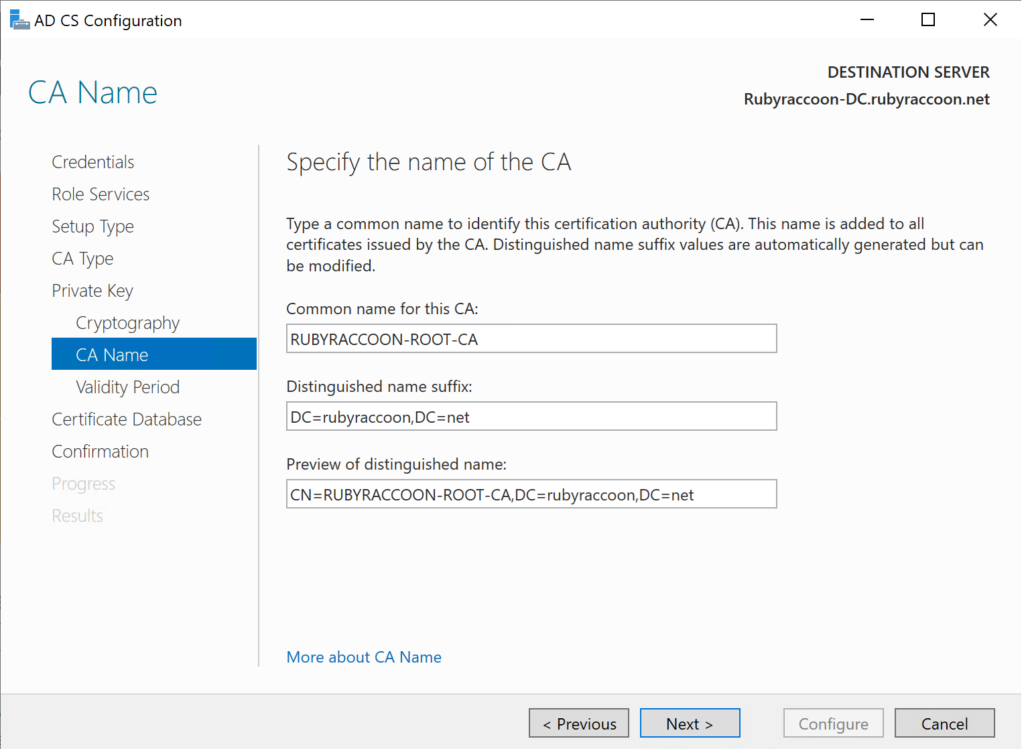
- Specify a common name for the CA.
- This can be anything you want, but I like to be descriptive.
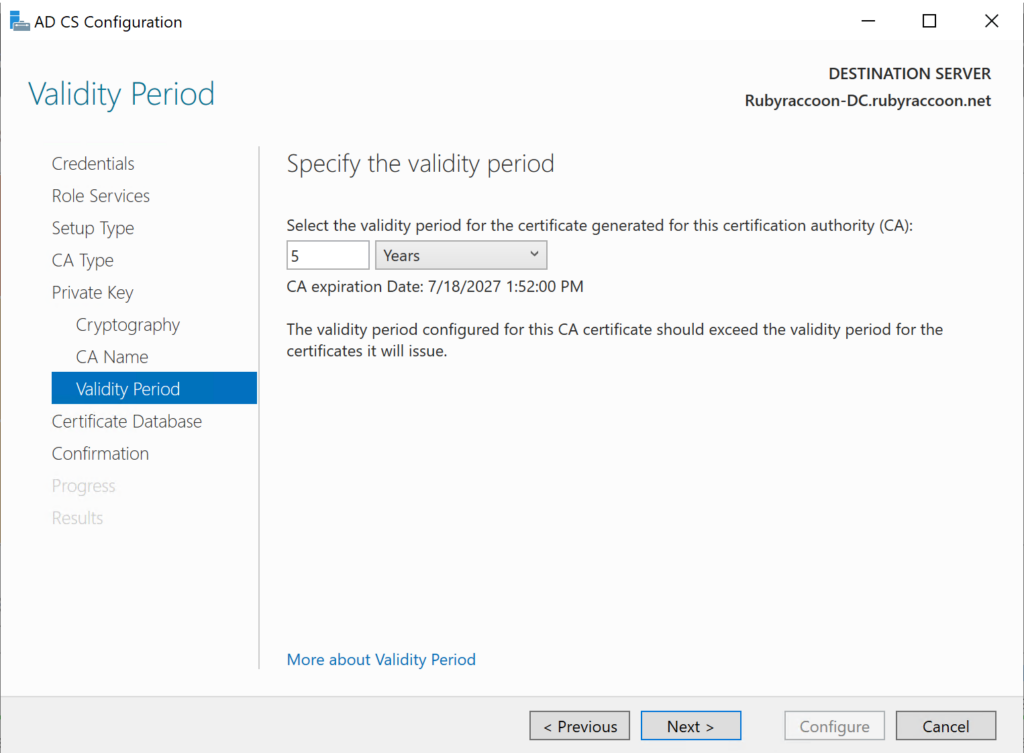
- Specify a validity period for the certificate generated for this CA.
- It’s recommended by Microsoft to leave this at the default value of 5 years.
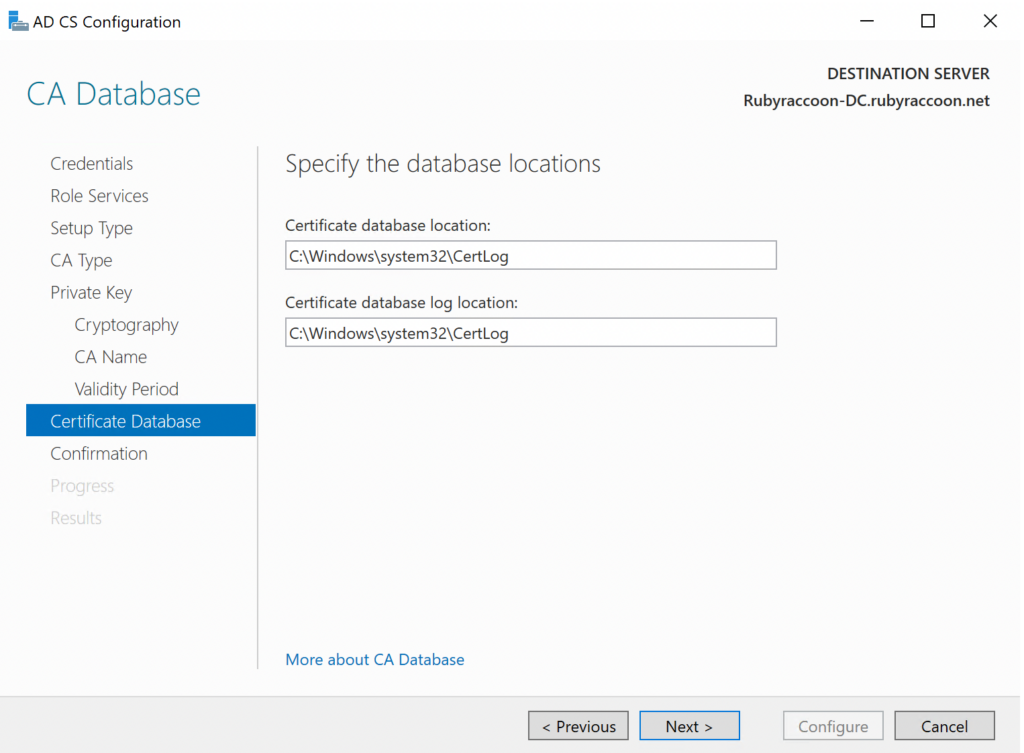
- Keep the default log settings, then move to the next section.
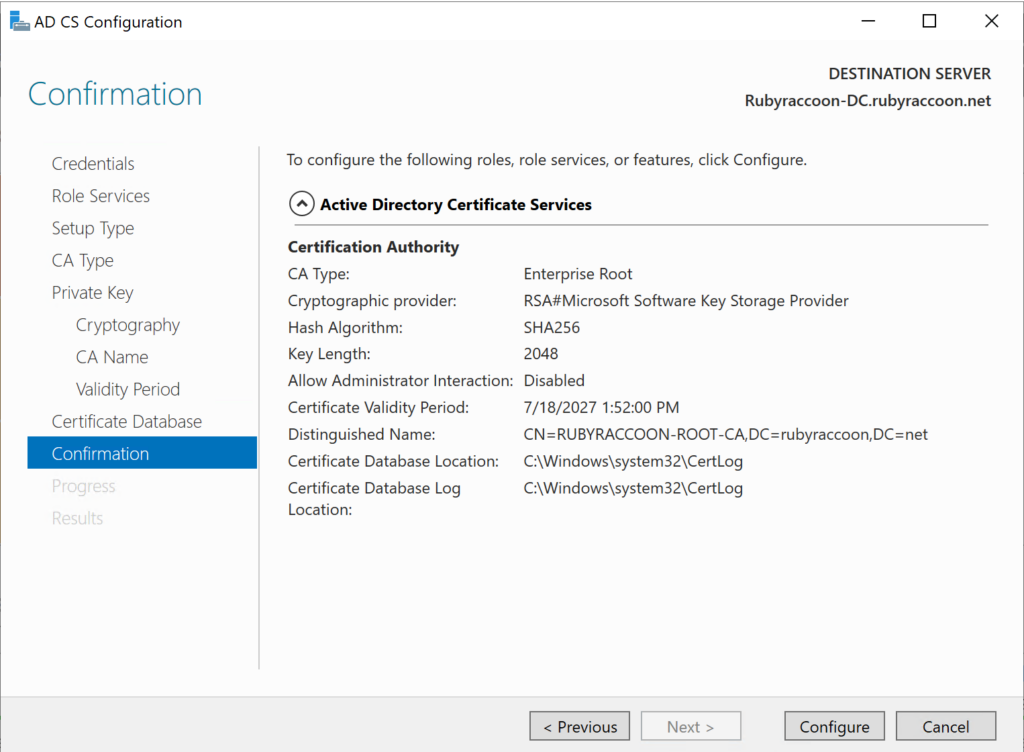
- Click Configure to finish configuring the CA.
- Once finished, click Close.
Congratulations, you now have an Active Directory Certificate Authority!